The fine-tuning continues and I am pleased with progress. I even figured out how to clean the heads on the printer thanks to a YouTube video - this helps with printing clean drafts. Each draft becomes a fresh look at the rules and the little changes that make things go smoother, and hopefully more historically.
Fortunately, I am on limited duty as I recover from a surgery to fix a few things that went wrong with the old frame - if I was a car, I'd be an antique! I have been able to spend regular time at the game table, albeit wearing a brace, and also spending some time reading Bruce Weigle's "1870", Roger de Mauri's memoir "The Franco-Prussian War" [edited by BG Peter Young, no less...] and Brent Nosworthy's "The Bloody Crucible of Courage" because Bruce Weigle says we should in his bibliography; and yes, a little red wine, also.
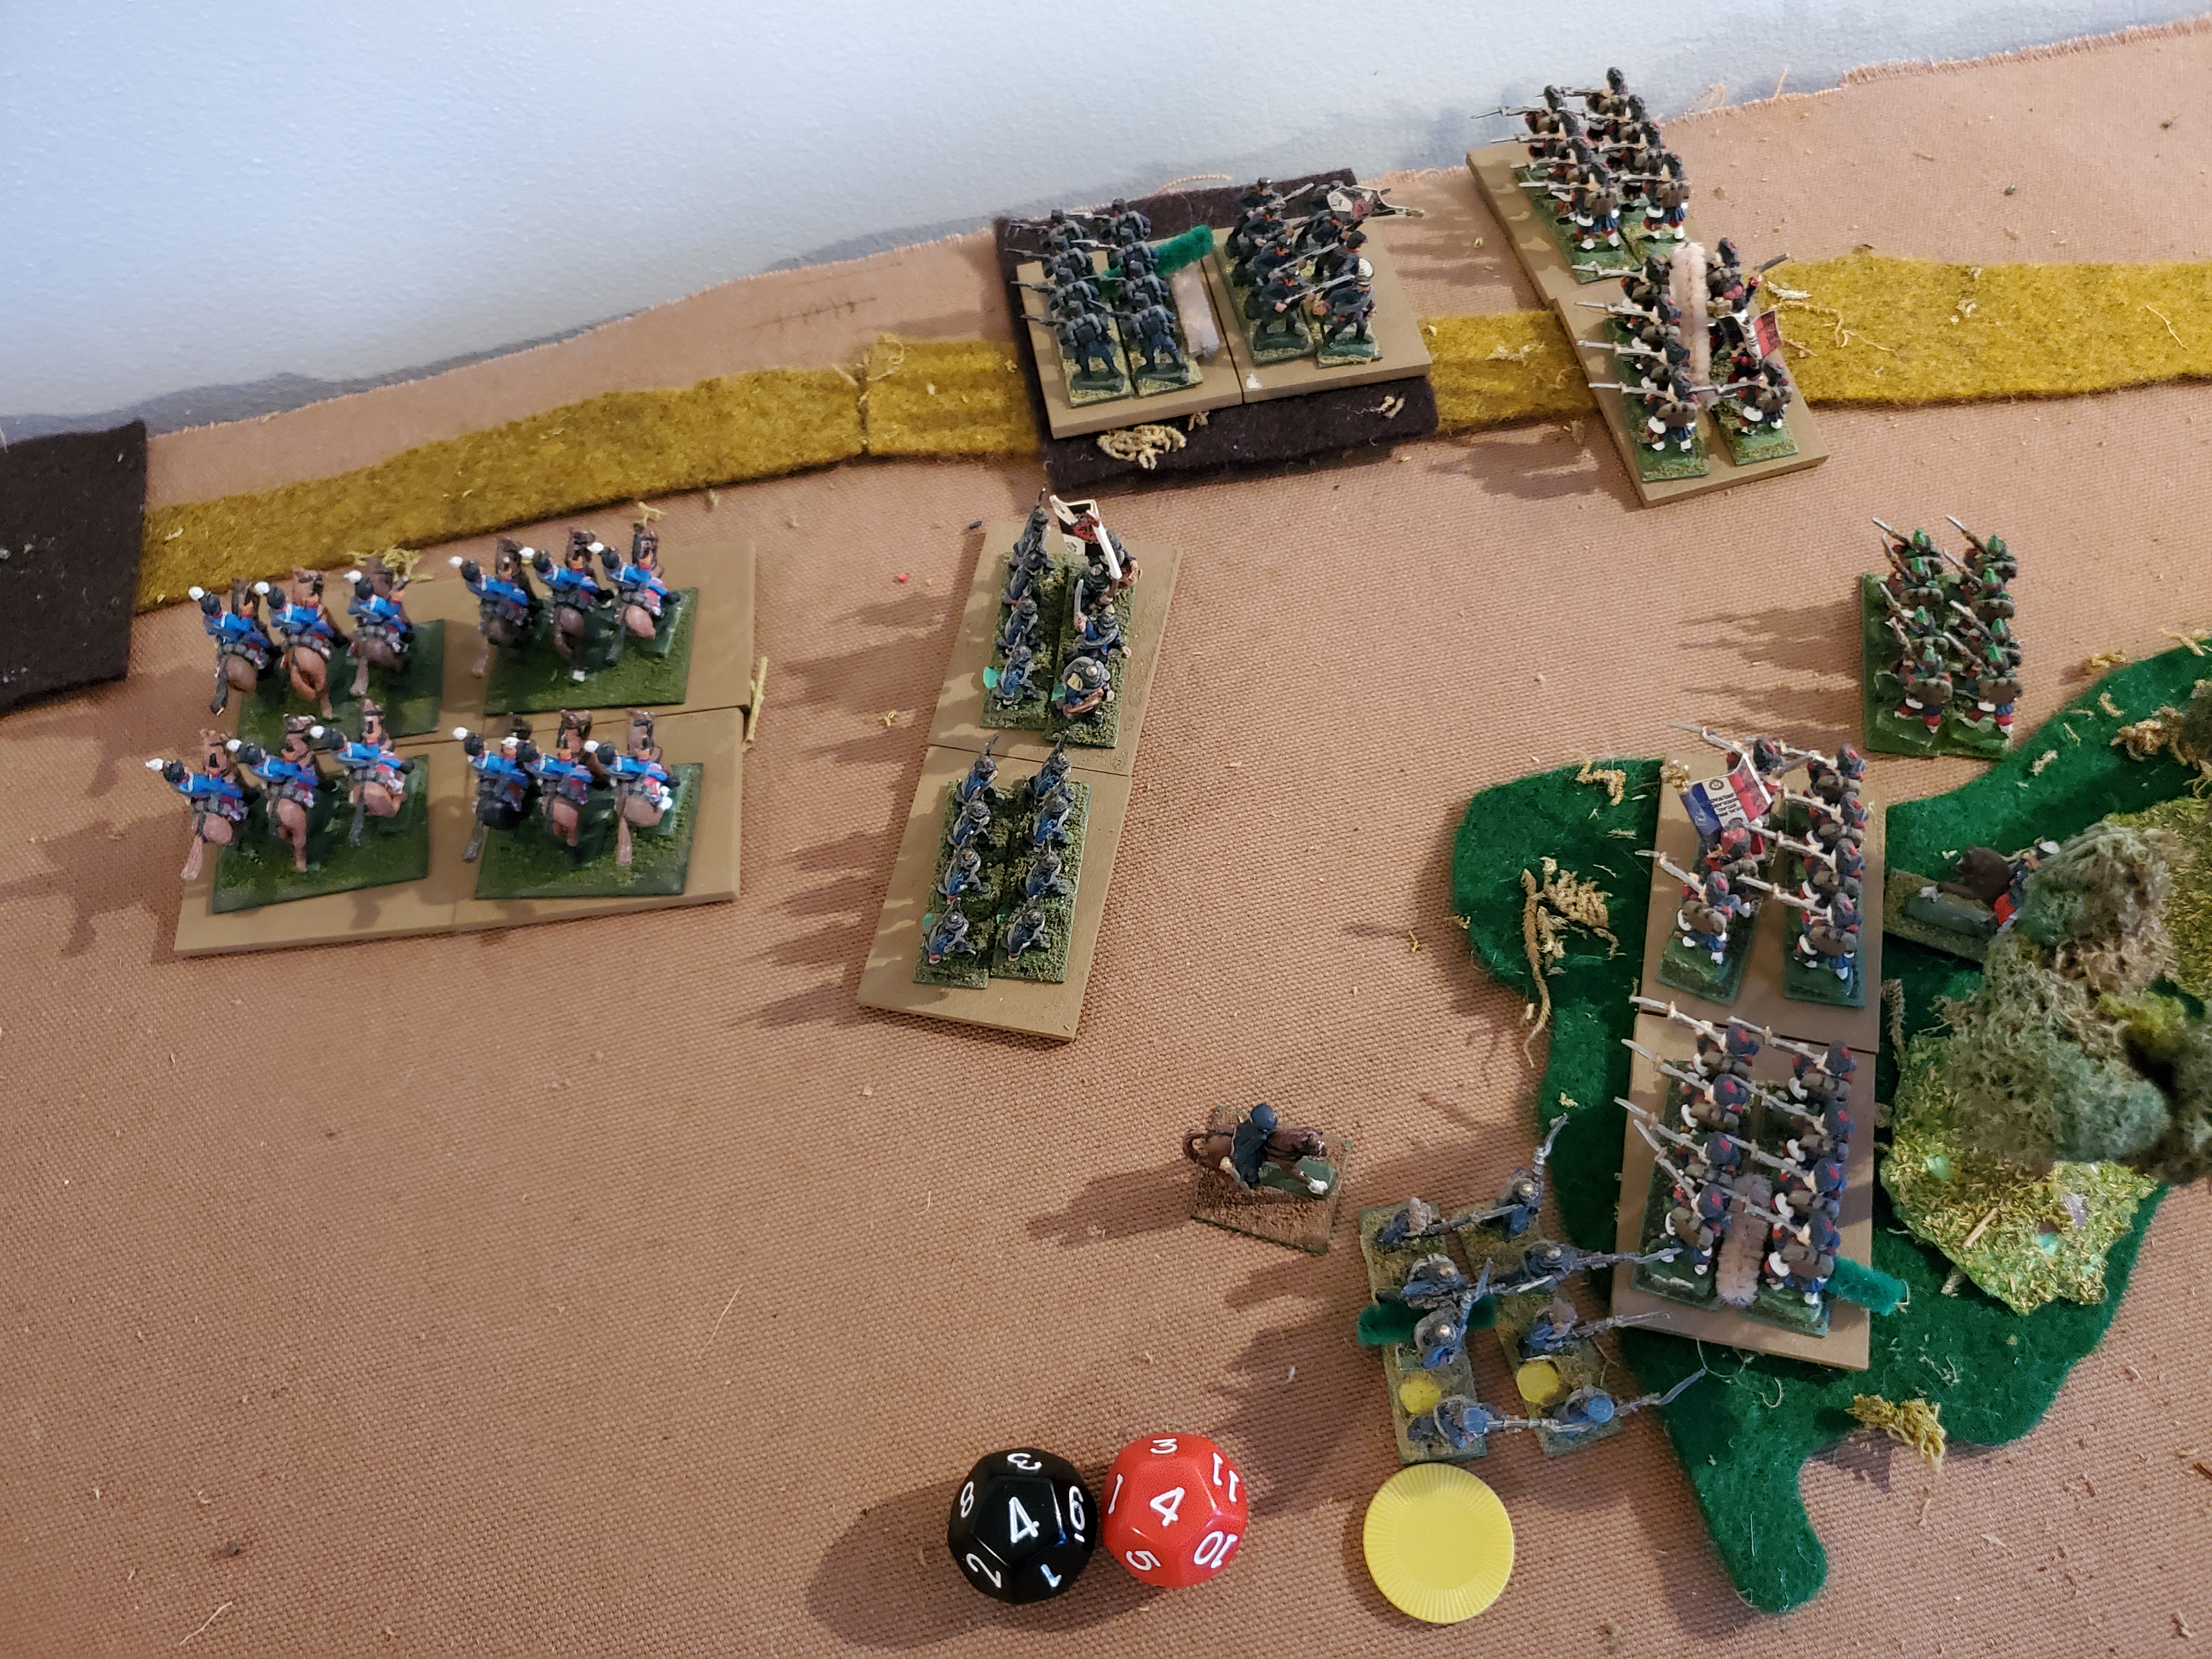
This time I repeated the forward deployment and the flank attack options of the original scenario framework; I felt like I had learned a few things for both sides that I wanted to play out. I liked the Prussian selection of forces: both Cavalry and one Skirmisher, the latter to seize the small but important central wood.


Turn 1, the Forward Deployment and faster Operational Movement [my idea] get the Prussians situated at Table center quickly. The only real estate that is owned by the French is the Bois du Nord, which is key terrain for them.

Turn 3. The Prussians have a strong central position, but are limited due to the Flank March - if they get too ambitious, they will be too spread out to support themselves properly. This is OK since four of the towns form a compact wedge just to Table South and West, and they can contest at least one other.


Turn 4. Both forces are engaged at longer small arms range - indecisive usually. The Prussians are firming up their defense of the four towns they need for a win!
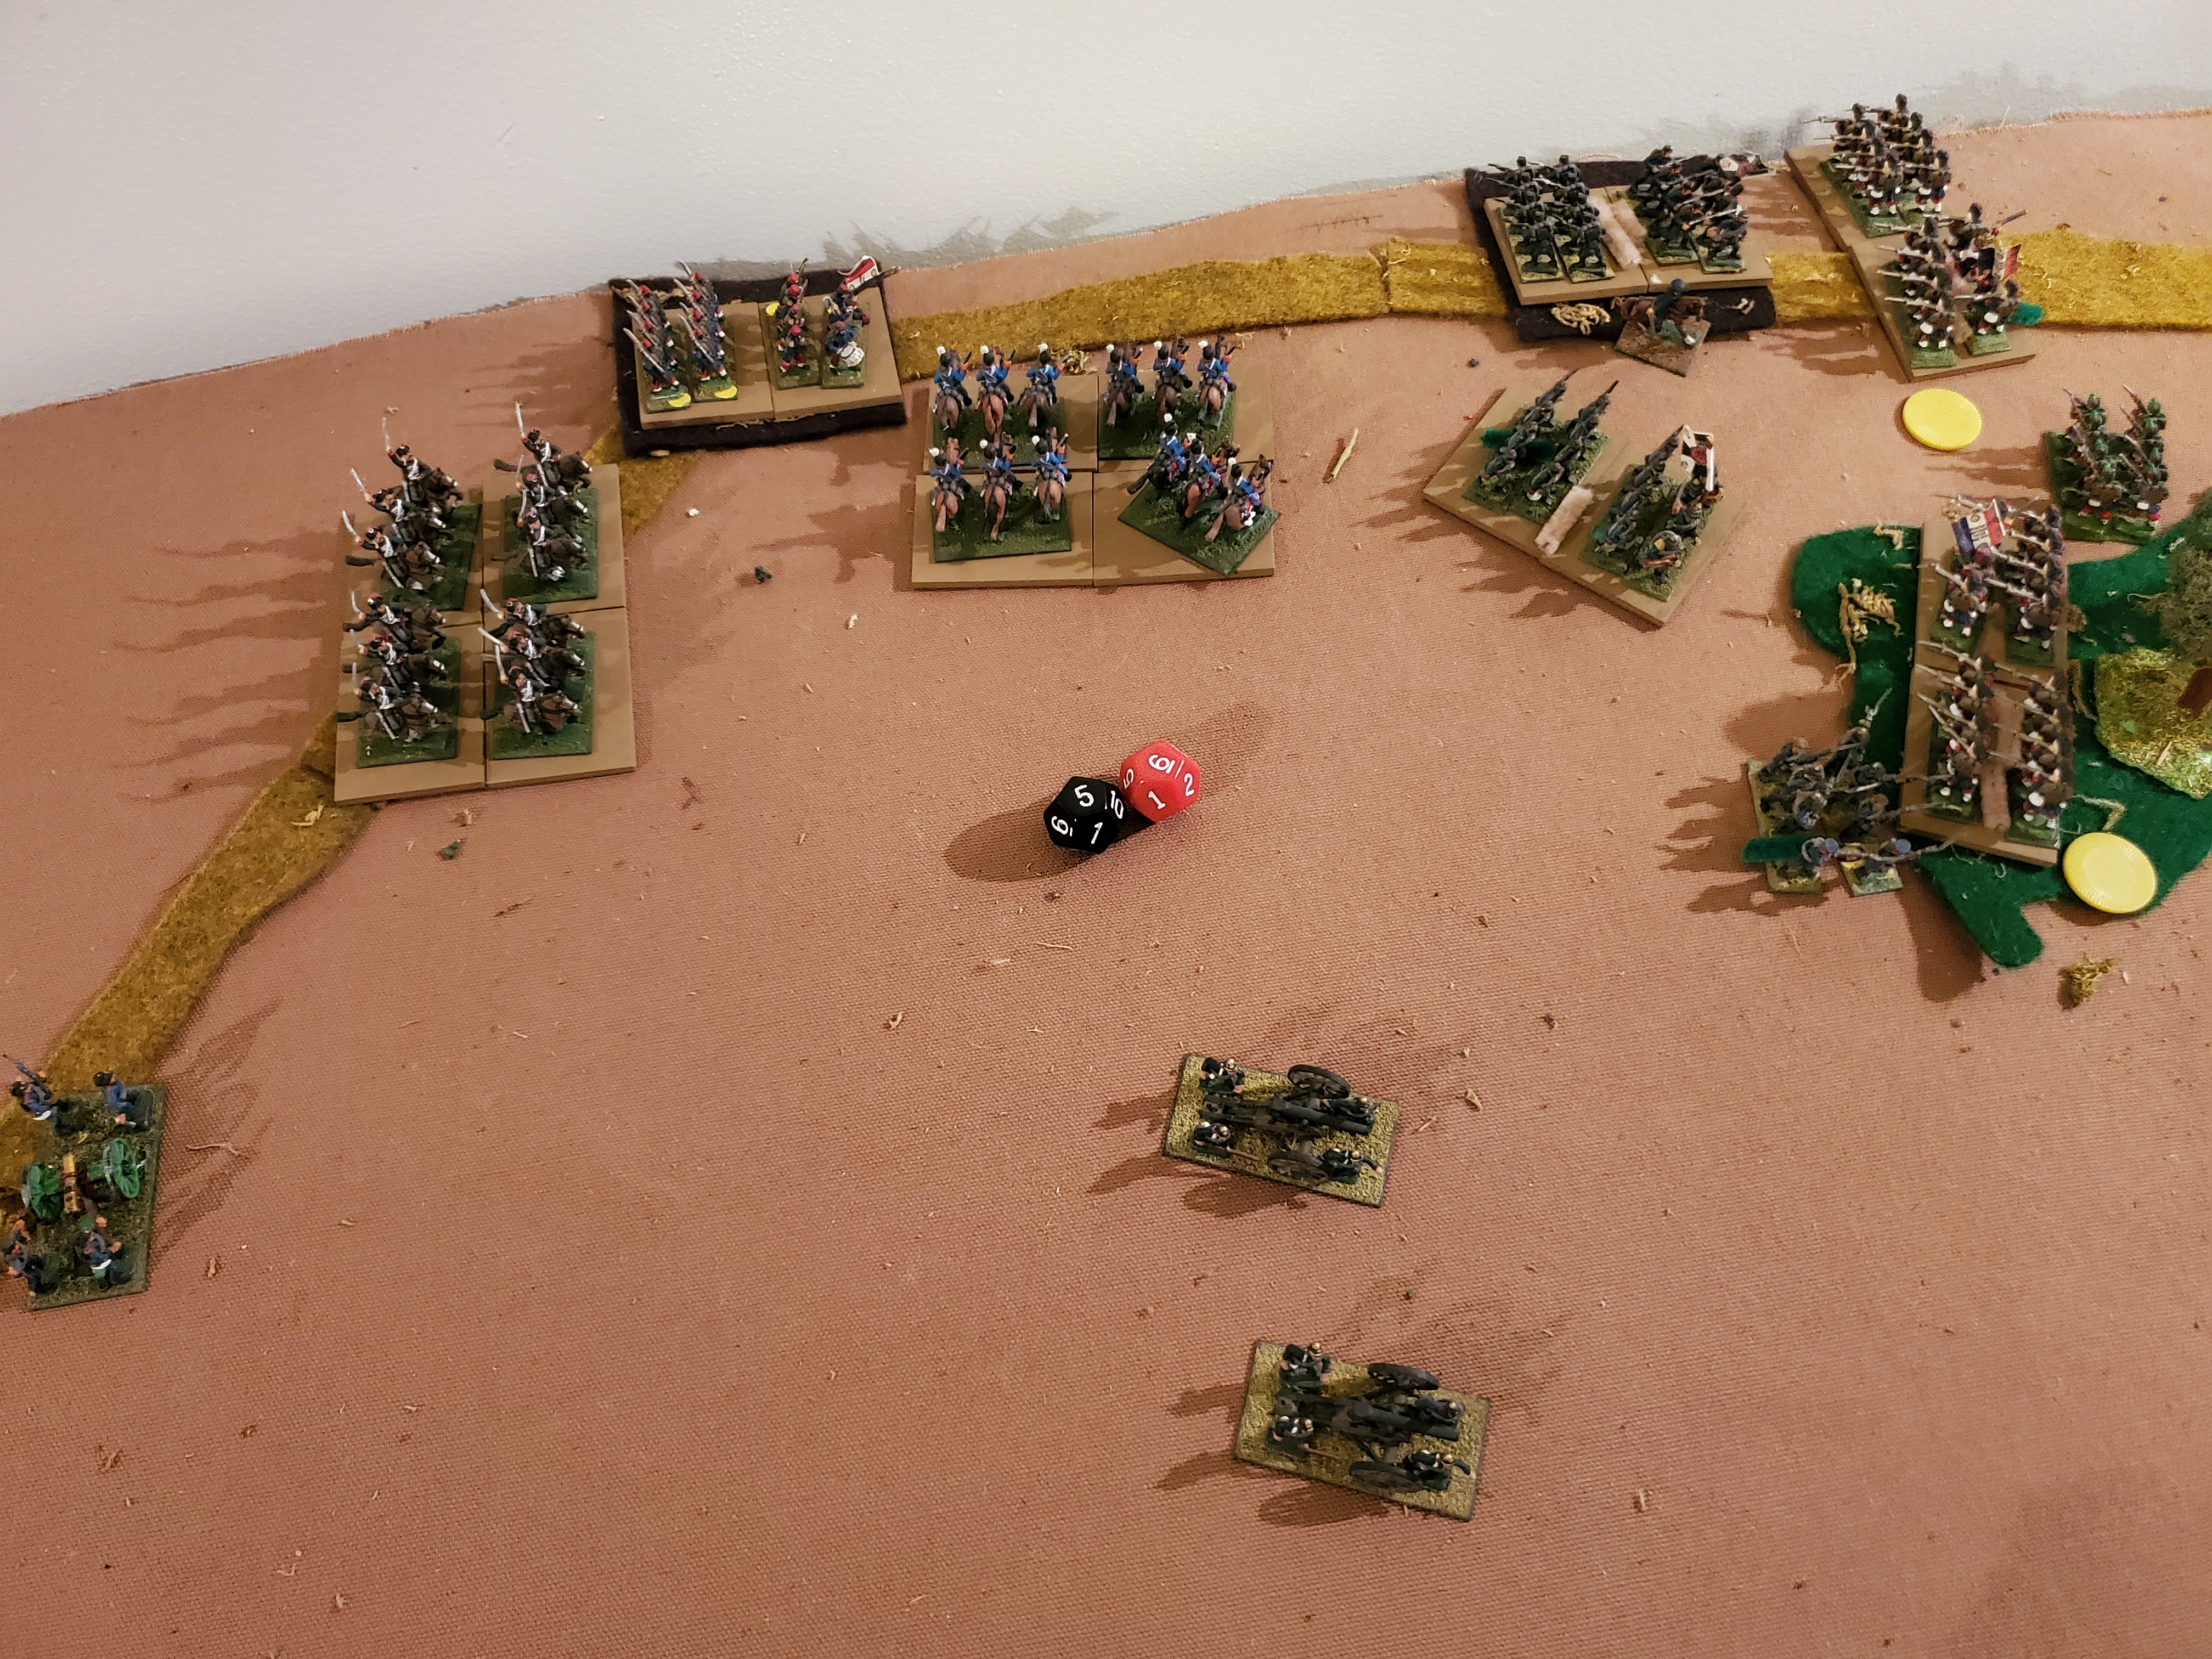
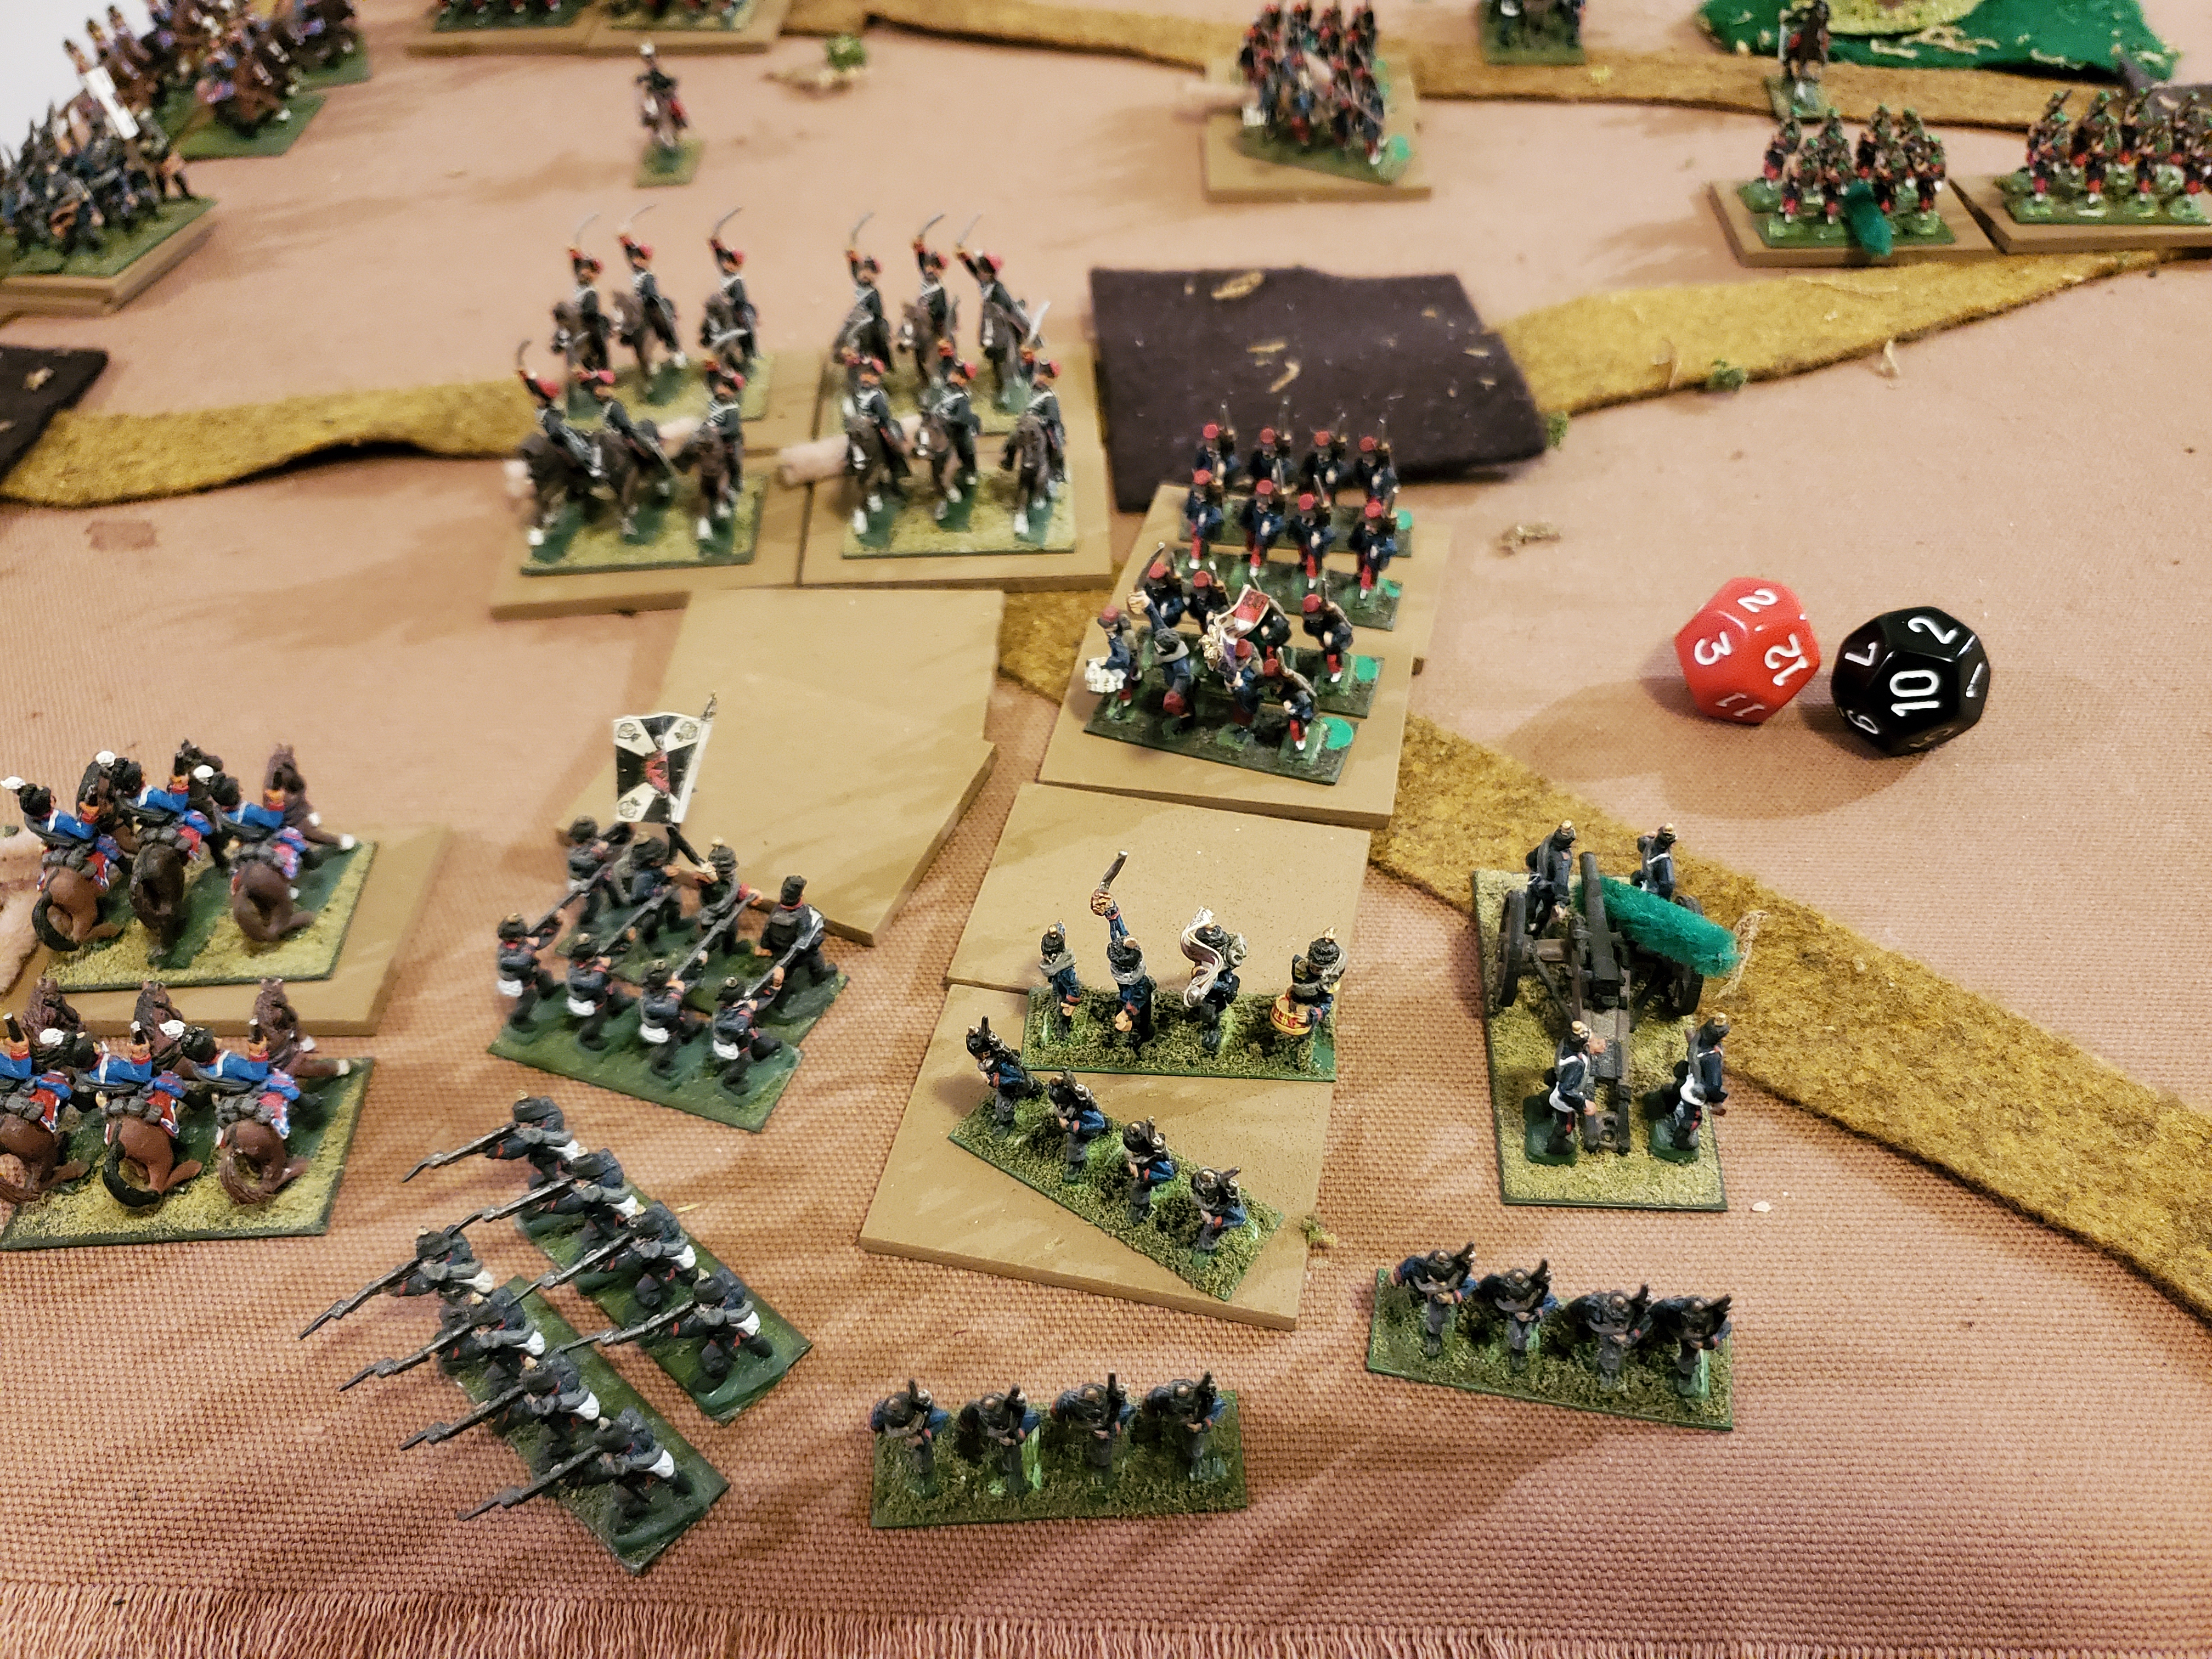
 French Turn 5. Preparatory Fire against the central town occurs from both chassepot and smoothbore Artillery.
 And then the Flanking Force arrives from the North! Hussars, a Ligne battalion and the Mitrailleuse. Despite Prussian preparation, it is awkward to receive guests at this hour and from this angle...
 Prussian Turn 5, their Jagers depart the field, having lost a base and failing their Morale Check. The French Ligne are advancing with the Voltigeurs to their right.
 In what can only be described as a poor showing, the French Hussars rout from the field! Looks like it'll be up to the PBI as usual. Fortunately, the Ligne Battalion and the Mitrailleuse are already in a good position to deal with the dragoons on their way towards victory conditions further south.

 This has about four French Corps engaging two Prussian, more or less. The table is about 5' x 9', so if played without any scale-down, I could only fit in Vionville to Rezonville and south to Bois de Gaumont or so with a 3x4' table that's in my office. Which would be a nice battle, anyway.
 This is for a 3'x4' table. The French have about a 2:1 advantage in the best Unit in the game, Infantry battalions. They get significant reinforcements from point A at table North. The Prussians get a few reinforcements at C and D, about half as much. Victory is to the French if they clear the road from Rezonville to Mars-la-Tour a pretty demanding victory condition. The key to this is Vionville and its adjacent woods. Of secondary interest is Tronville which is close enough to the road to need to be cleared.

Prussian forces needed a boost about halfway thru - I tossed a few extra units onto the reinforcement schedule. Then, I advanced von Bredow's cuirassiers to give the French Hussars a chance to redeem themselves after the previous battle.

Again, the French hussars beat back the cuirassiers, who are disorderly but plucky. Above them the Prussian dragoons are advancing upon a unit of Voltigeurs - Skirmishers - in the hope of wiping them out and then charging the damaged French Ligne Infantry battalion behind it. That would really help their defense, and it is statistically possible as both French units are a bit weak.

The Dragoons in the top left corner managed to - barely - destroy the skirmishing Guard Voltigeurs. They turned to present as many threats as possible to as many French as possible. Meanwhile, the Cuirassiers lost 3-1 but pass morale to Fall Back in an orderly manner.
 But, the French Hussars pursue them and the Cuirassiers lose melee again, then fail morale. They rout from the field...
 ...and the Hussars turn to face the Prussian dragoons behind them, as well as the flank of the Prussian Jagers.


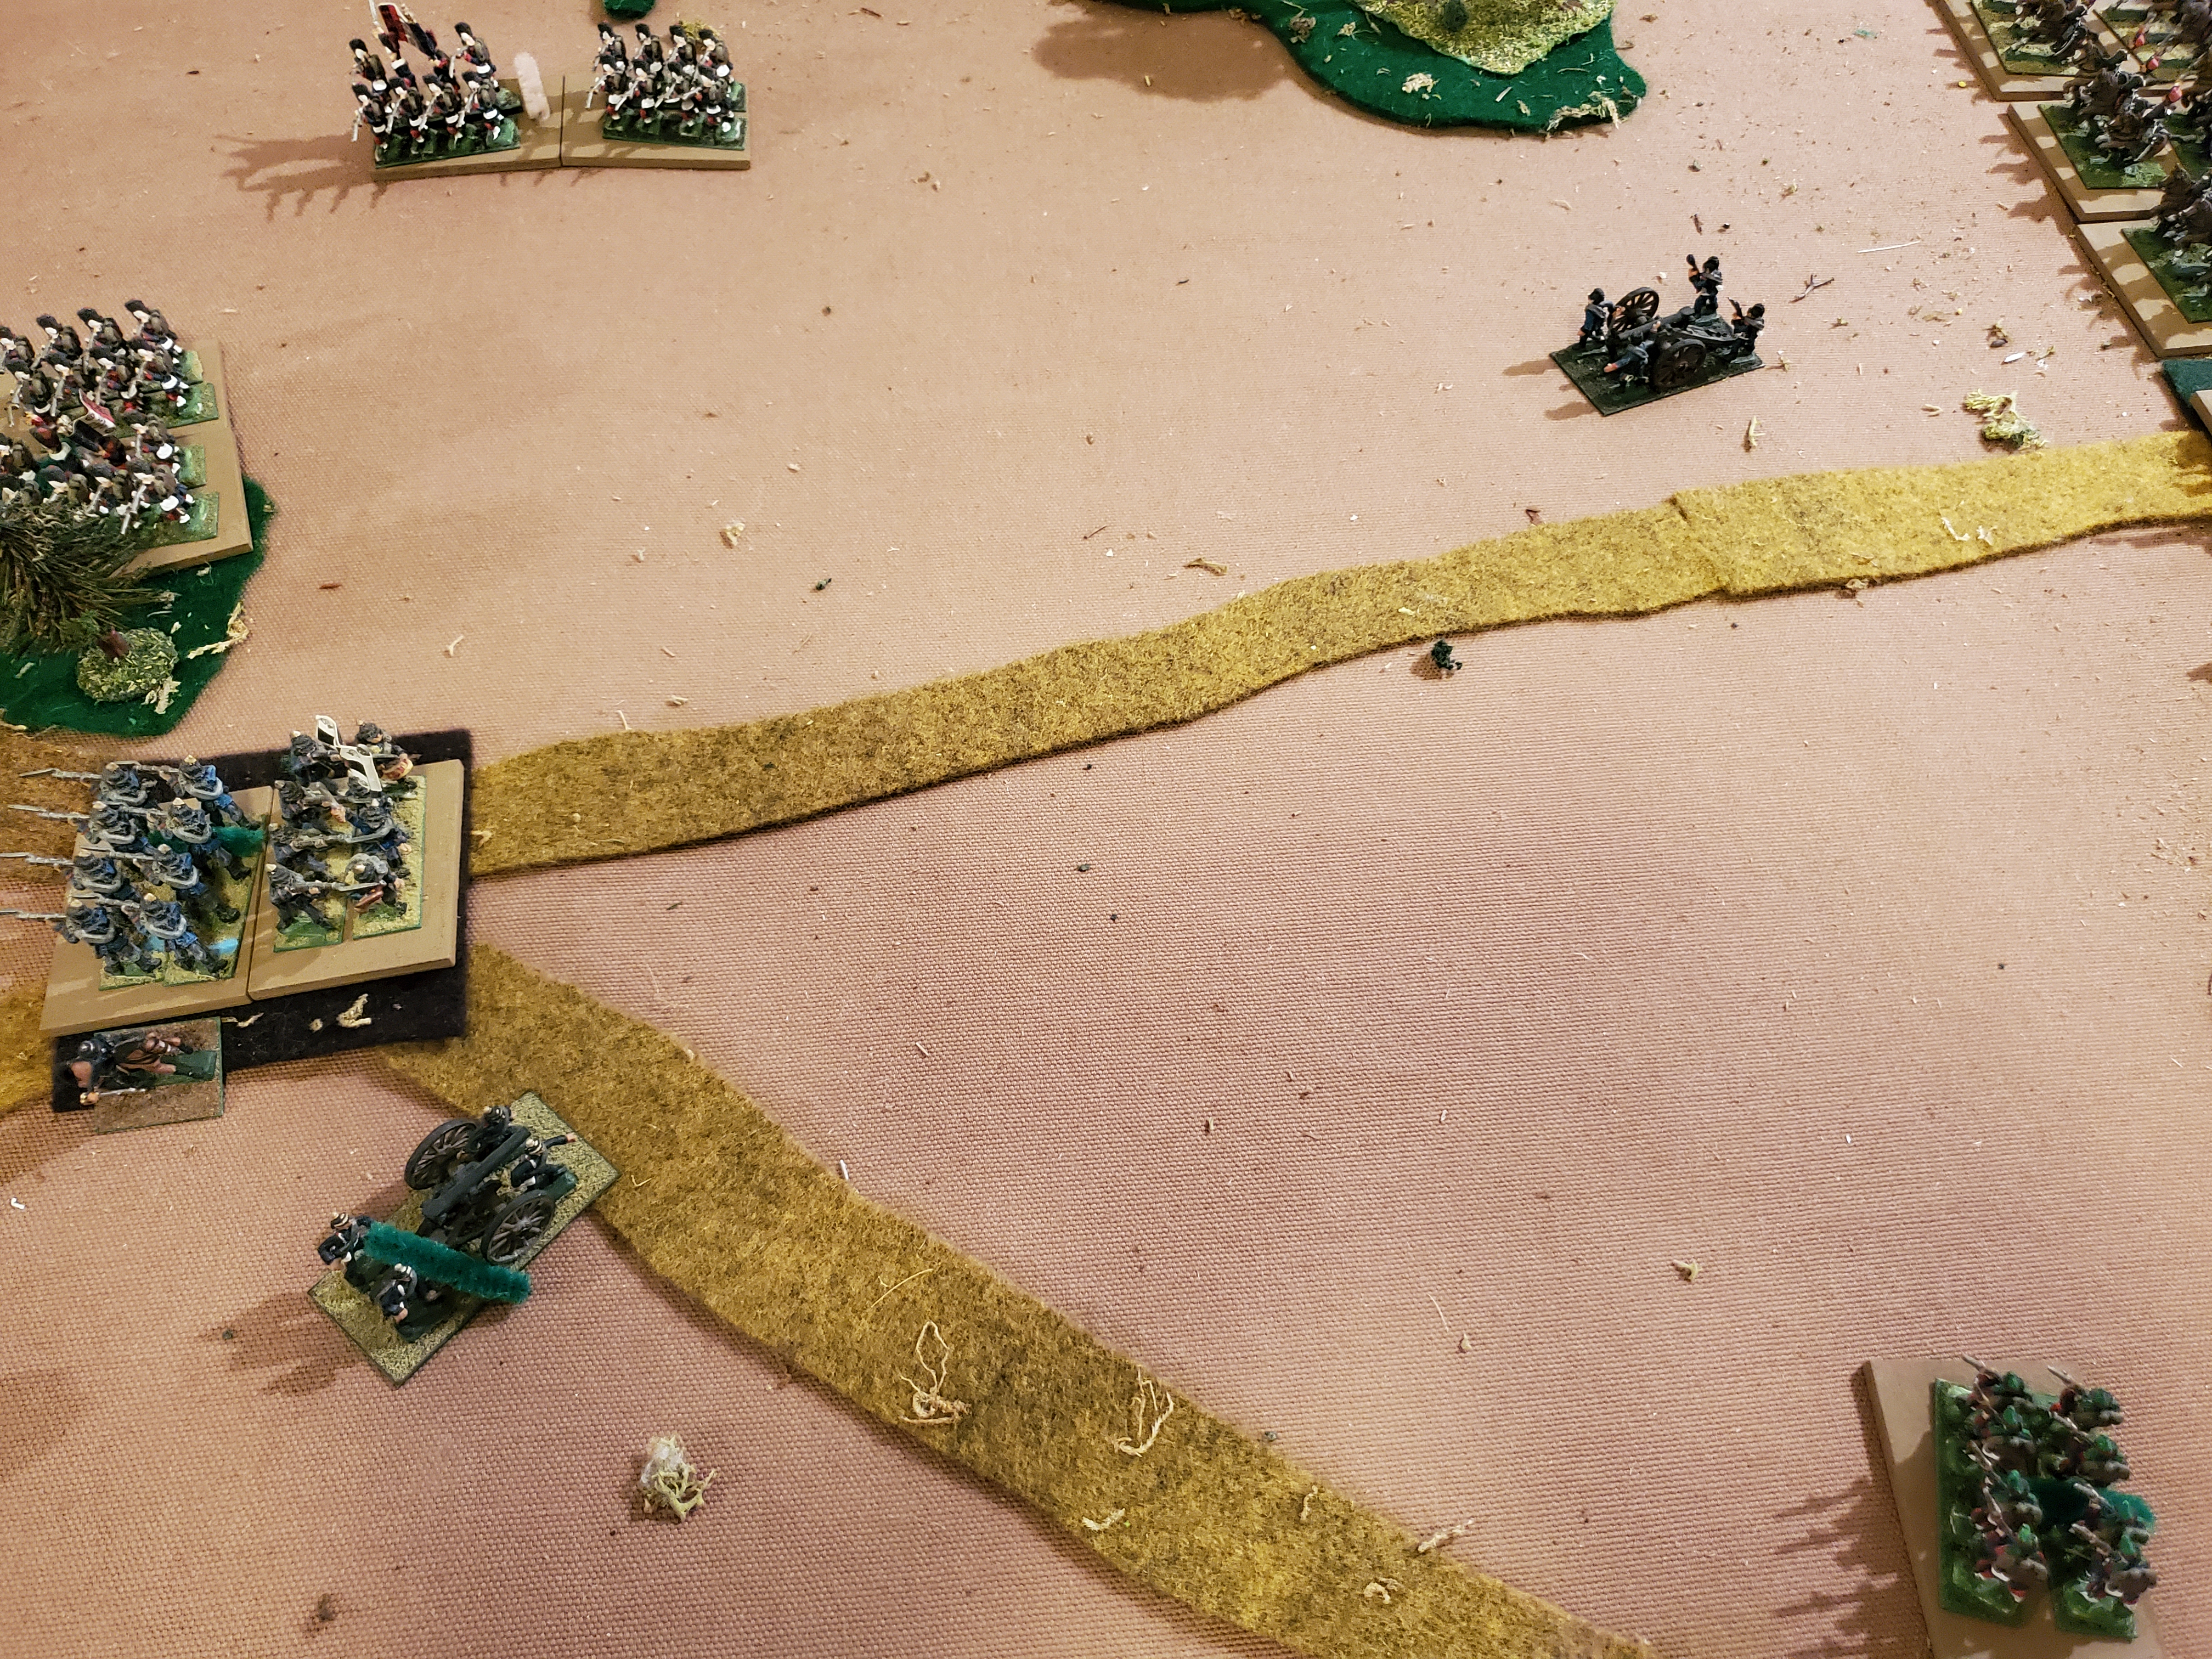
Table North, the Prussians pull back a bit, anticipating the arrival of French flankers at any moment! The Voltigeurs engage the Prussian Jagers who are protecting the Krupp batteries.


After a few more Turns, it was clear that the few Prussian Infantry were not going to be able to handle multiple avenues of attack and hold on to all four towns. As the battle was winding down and starting to get a bit "gamey" due to the units being very spread out, I called it a day for the Prussians.
My main issue with the scenario system is that with only 10 Units a side, and only up to 6 being Infantry, things can get very spread out. It is hard to concentrate force anywhere, and the historical approach of supports won't really work. Altho I think that the book's scenario system works well in presenting some ways to throw a game on the table, the following grains of salt should be sprinkled:
1) The table is large enough that it really needs almost double the number of Infantry, so 8-12 per side.
2) Whichever side has the most Infantry Units should automatically be the attacker.
3) Use the Events for ideas, but be prepared for them to overwhelm a good game - plan ahead to tone them down so that if 3 Units are lost in traffic, you might change it to 1-2, and then that smaller force automatically is the defender and gets the Forward Deployment to compensate, for example.
4) Use the historical "bathtubbed" scenarios for ideas, either steal the map or the entire scenario - there are some interesting challenges.
5) Some of the historical special rules are a bit over the top. They may need to be put to the "common sense" test and modified.
I hope that has been helpful for readers of this blog and owners of this book!
*********************************************************************************************
Moving right along...
The culmination of the playtesting will be the bathtubbed version of Mars-la-Tour from Neil Thomas' "Wargaming 19th Century Europe". Scenario systems are all well and good, but let's get back to history!
The scaling is interesting when compared to the full-sized scenario in "1870".
The below is from the wonderful and highly recommended set of rules and guide to the period by 19th Century European warfare guru Bruce Weigle:

Neil Thomas takes this corps-level action and reduces it to about a dozen units a side, about a division and a brigade! Below is NT's game table:

Overall, this is a pretty typical "clear the path/road" scenario. I would re-phrase the victory condition to read that the attacker must clear the road of Fire from infantry weapons; this would necessitate a 6" corridor against Prussians, and a 9" corridor against defending French if one flipped the scenario.
The single most unusual special rule for this scenario is that all French Units move and fire at half effect, except for 1-3 diced each French Player Turn. This is to represent the indecisiveness of the French commander Marshal Bazaine. While I am OK with the snail-pace of movement [some armies are notoriously slow to maneuver including the Austrians and the Russians] I have a problem with the firing at half effect. NT justifies it by saying that they are conserving ammunition.
My rules have a modified Player Turn which gives more nuance by separating Close Combat from the Fire and Maneuver phases. Ergo for my purposes, I will only prohibit French Units from charging or entering Prussian Close Combat range unless they are one of the diced units.
Below, after a few turns, the French have [slowly] advanced. As they outrange the Prussians, simply moving them within 9" is enough to challenge the Prussian defensive line [do they take Hits without replying and wait the clock out?]. My solution was to advance the Prussian Infantry into their 6" range, so they could fully engage the French line, but not into the Close Combat Range. Still, it ended with the loss of a Prussian Infantry and a couple of Krupp batteries. One Prussian Infantry had to hide out of Line of Sight behind the town - they jumped back in when the French were in their range of 6", and lasted quite a long time.
The French Infantry develop a strong attack on the town and woods at center. One Krupp battery has been shot down by long-range chassepot fire, and an Infantry battalion had to bravely threaten the French left to slow their advance.

And this time they did quite well, beating back the Elite and heavier Cuirassiers! These pass morale and fall back a few inches.


"Take that von Bredow! May this Death Ride be your last!"
Now the Dragoons are unable to attack the French line, as they could end up with their rear facing the Hussars if they lose.

Flush with victory, the French Hussars charge the dragoons - odds favor the dragoons. BUT! They beat them also, 3-2, and the dragoons fail morale with the black '3'. This leaves them in a weakened state and a bad position.

At table center, the French have a wonderful base of fire built up, and a Ligne unit about to charge into the woods to clear them. The Prussian Infantry re-occupied the town when the French were within 6", which is their Range.
 This operation is successful, and the French Infantry envelop the woods and seize the town. The Prussians still hold one more that needs to be cleared, however.
 Guard, Ligne, and Voltigeurs advance!
 At center, a strong French force is preparing to launch the next phase of the clearing operation. In the back left/top, the French reinforcements are s-l-o-w-l-y advancing onto the table. I need the few diced full moves in the battle area.
 This Prussian General deserves special mention - he was Hit a couple times rallying Prussian Infantry, but kept returning to the field [needed a '6'!].

After a few more turns, it is clear that the Prussians are "kaput!" The careful use of French Cavalry charges and Infantry counter-attacks have broken up the last Prussian defense and the town has not only fallen but is secure from counter-attack as the last Prussian Infantry have been destroyed and it is Turn 14.


After a few more turns, it is clear that the Prussians are "kaput!" The careful use of French Cavalry charges and Infantry counter-attacks have broken up the last Prussian defense and the town has not only fallen but is secure from counter-attack as the last Prussian Infantry have been destroyed and it is Turn 14.

An interesting battle, but one that seems easy for the French to win, despite the slow advance. They have the numbers and all the French player needs to do is get into chassepot range and the Prussians have a difficult choice to make. If the French also fired at half effect, I don't think it would be much of a game at all, and would probably allow more French units to dice up to full fighting capability.
The victory conditions as they stand demand that the Prussian force be nearly wiped out, as it isn't very hard to keep a couple of units able to interdict the road through Fire. This is the main challenge to the French, but I think they have the turns to do it.
Hope you have enjoyed this look at the Wargaming 19th Century Europe book by Neil Thomas, and have a better appreciation for its strengths and weaknesses. Overall, I'd say that this and the Napoleonics book are the culmination of his 4-base horse and musket rules that began with Simplicity in Practice, progressed through Wargaming: An Introduction, and then resulted in these two books.