
Well, they ain't Miniatures...but then again, I didn't have to paint'em!

Overall, a nice portable substitute for Miniatures, except perhaps 2mm.
Scenario #8 "Melee" from One-Hour Wargames, by Neil Thomas.

Russians will be defending, holding the hill while their reinforcements race to the scene. The French are making a push to secure the hill - it overlooks the road and is easily interdicted by Artillery. How can the French advance without a secure supply line?
Only changes to the scenario are to make it fit Blucher, which doesn't fight to the death, but usually until 1/3 of the Units are Broken. Here I compromised and made it 50% of the Units per side - 10 for French, 11 for Russians [one is only a Cossack]. In Blucher terms, they were 2 armies around 130 pts.
I diced for the forces using first the 6-unit then the 4-unit table in One-Hour Wargames. I came up with the below:

Allied Infantry: 1 French Model, 1 Polish, 1 Conscripts, 1 Horse Art, 1 Lt Cavalry
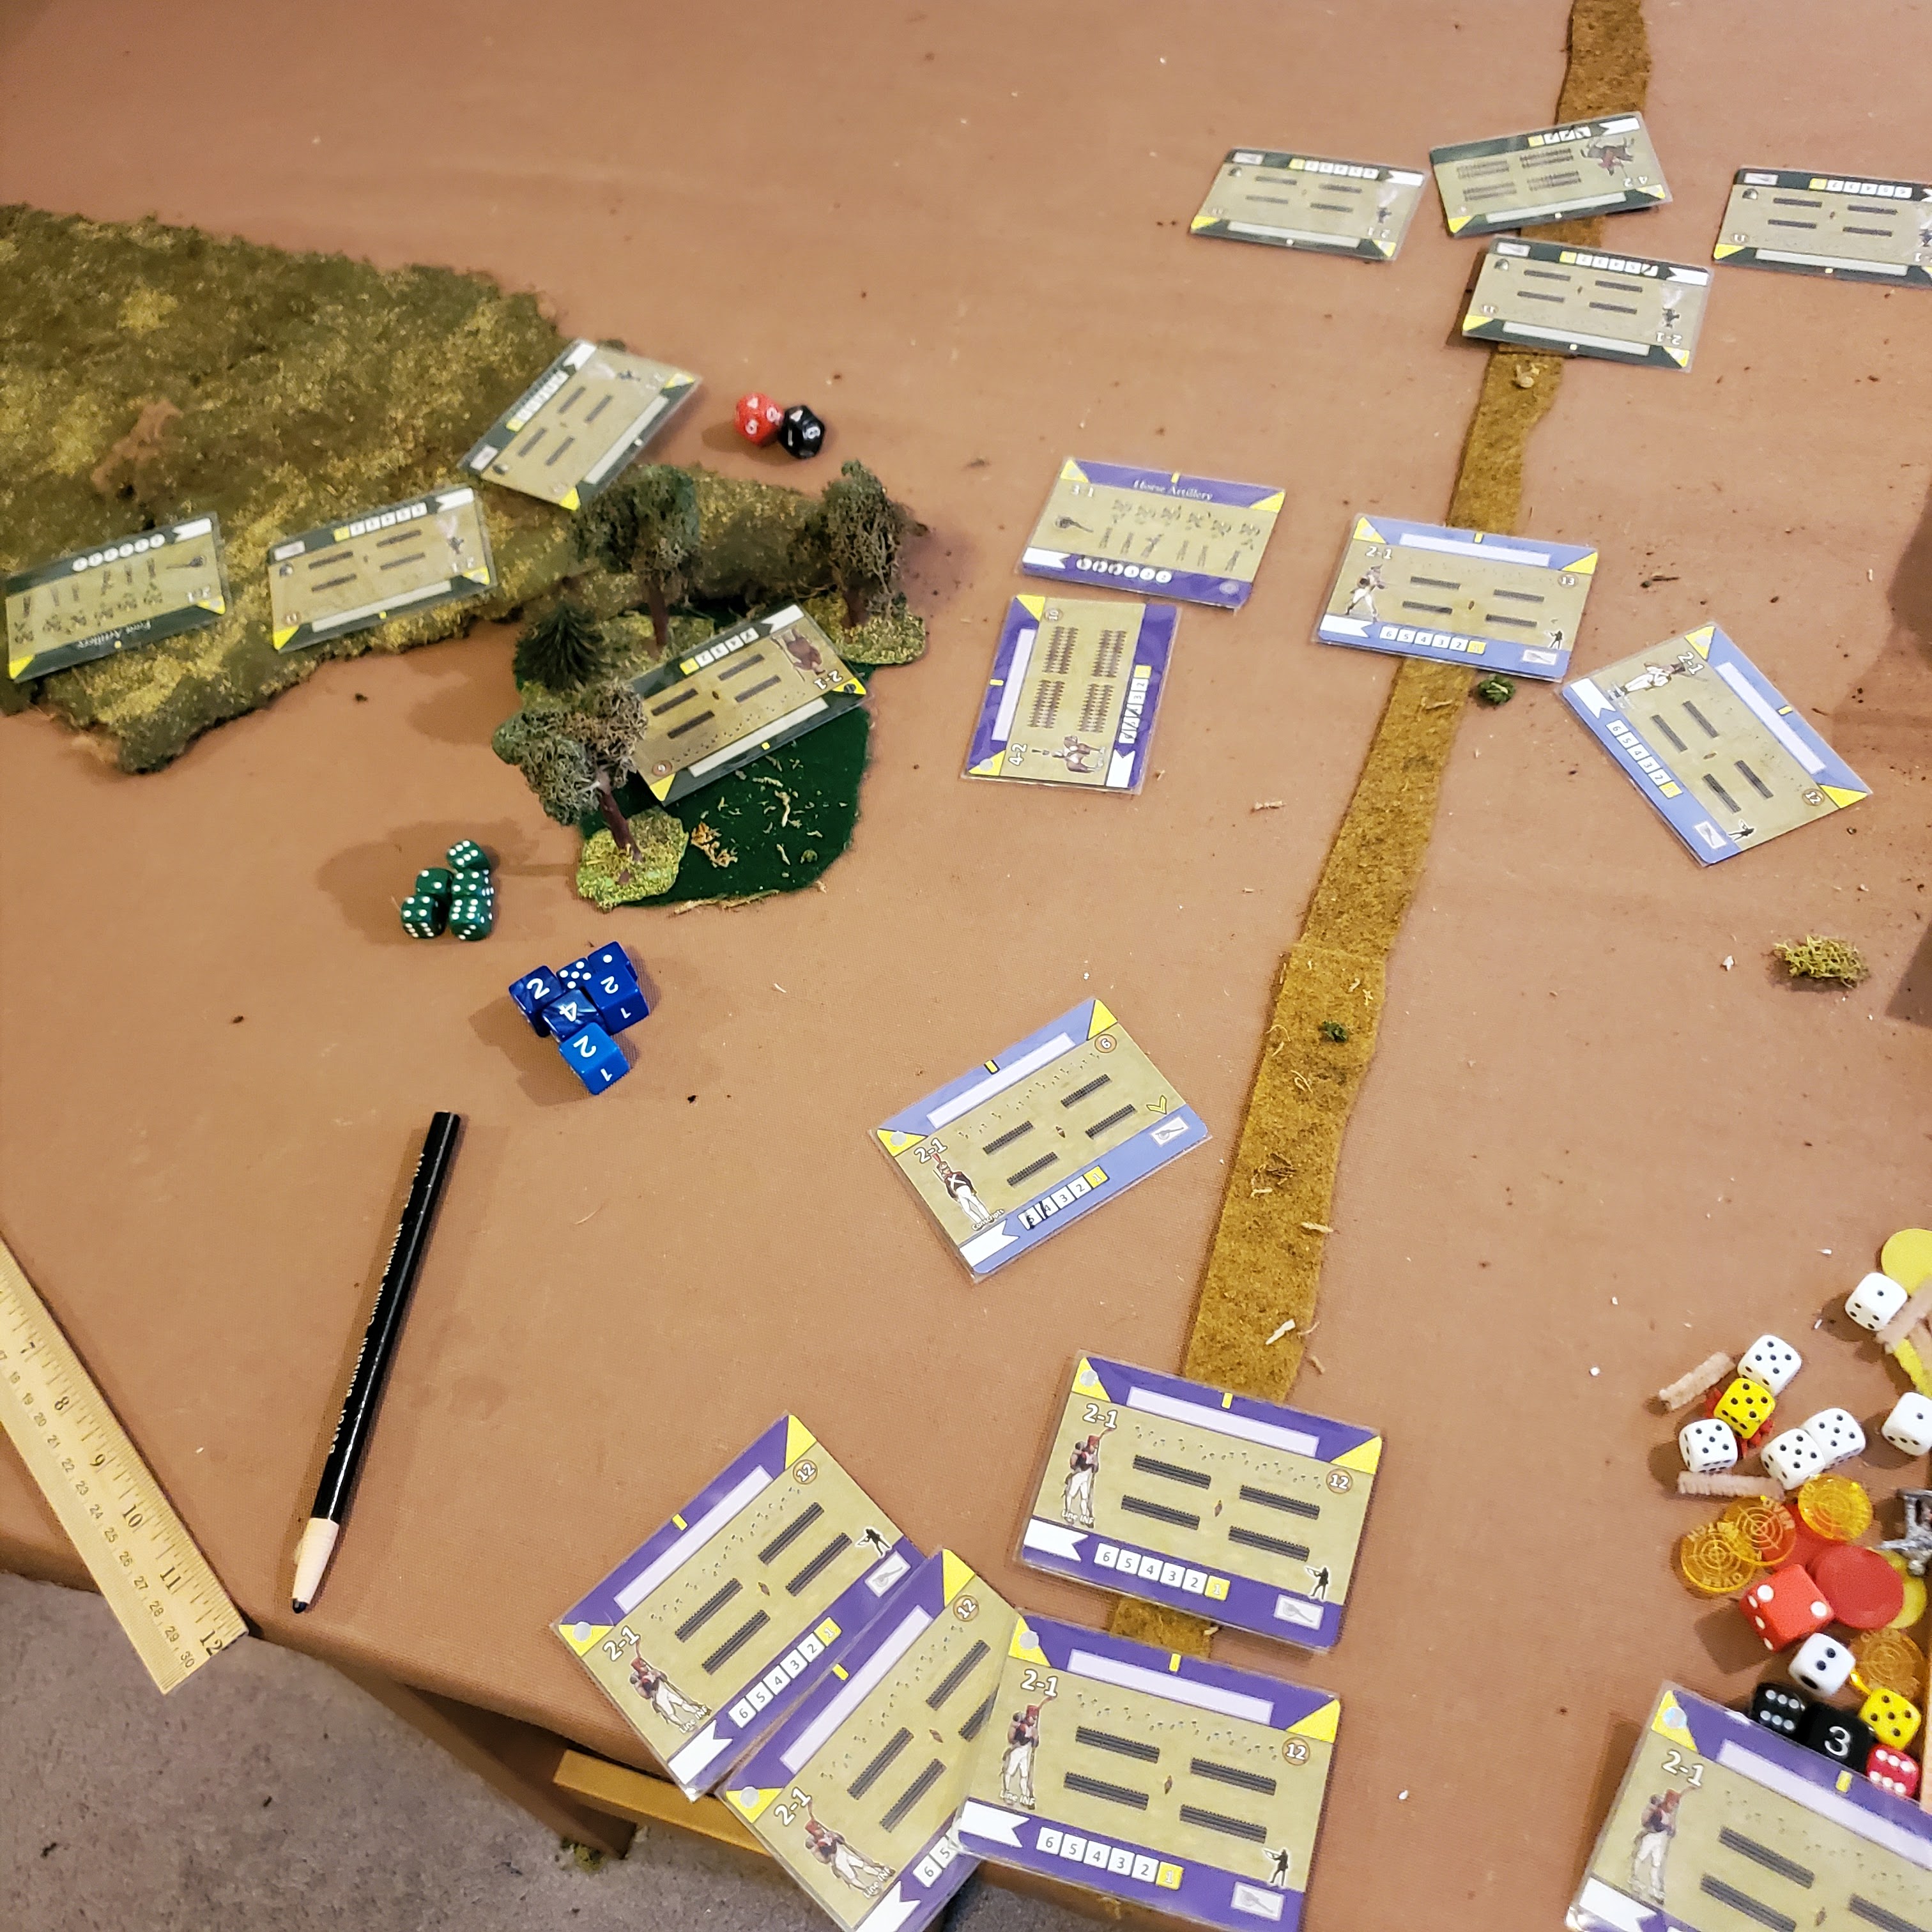
 II Corps. 5 French Line Infantry.

Atop the hill, Russians have two Infantry, Foot Artillery and the Militia have moved into the woods, on Turn 1 [the woods are the key to the position, CLICK here for analysis]. The Artillery nearly reach the road at 24".

French Turn 1, the Allied force entered, with the Light Cav, Horse Artillery at the front. Three Infantry following up. Russian Artillery range indicated by ruler. Uncertain if I placed their guns properly, but prefer Infantry to be close to the opposition, rather than the guns.

Turn 2. Russians re-position as the Allies are moving up the road and avoiding them. French respond by continuing up road, unlimbering the Horse Artillery, and inflicting a Fatigue on the near Russian Infantry.

Turn 3. Russian reinforcements arrive - three Infantry following the Cossacks. The French cleverly held their Cavalry just out of charge range, so the Cossacks must be content with screening the Infantry, who are following closely behind.


Guns in Blucher are pretty resilient - charges against them, even on a flank, are unlikely to succeed unless the guns are low on ammo.

As defender's win ties in Close Combat with Blucher, and the Infantry can more than handle a lone light Cavalry Unit, Ivan isn't worried. The Russian Infantry spectacularly miss hitting the French Horse Artillery with 3 x 1's!

French Turn 3. Cavalry charge the Cossacks and are repulsed! Infantry advance.
 French Horse Artillery blast the Russian Infantry for 2 Fatigues! Cossacks charge the French cavalry but this time THEY suffer a reverse!
 Russian Infantry Move up and create a firing line.

Meanwhile, on the Hill, The Russians have finished repositioning themselves into a more offensive stance. The Militia defending the wood have no reason to exit the woods and have a losing firefight against the Allied Infantry.
In Blucher, the best thing for weak Infantry is to occupy a defensive position, which makes them a lot more effective than in the open. They also will wear down an enemy Infantry, even if they lose and retreat.
Interestingly, Blucher doesn't allow Infantry shooting in or out of woods. Artillery may shoot up to 3" in. This makes occupied woods mostly a close combat problem. Only rules I know that do this! Reminds me a lot of the Histories I've read...


French Turn 4. Polish and German Allied Infantry prepare to face the Russian advance, supported by the Horse Artillery. Meanwhile, they position Infantry to gang up on the Militia holding the woods, key to the hill position.
 II Corps arrives on the road. Plenty of Infantry to reinforce the frontal push.
An Impatient Conscript attempts to oust the Militia, unsuccessfully.

Turn 5. French step up the pressure, charging the Light Cavalry against the severely weakened Russian Infantry, forcing a Retreat, and leaving them Fatigued. The Conscripts again try their luck against the Militia in the woods, and are again thrown back; this has left the Militia weakened, however.
 Firing breaks out all over the East end of the battlefield, the French getting the upper hand right away, inflicting a Hit on each and taking none.


Turn 6. Russians hold the line as their reinforcements arrive at the West edge of the battlefield; a cavalry, a Guard Infantry, and an Infantry. French make a high risk charge and the Light Cavalry break the Russian Infantry - mostly due to the general failing to Prepare them. Firing continues, with the French steadily out-rolling the Russian Infantry. A Russian charge against the horse Artillery fails [barely].


French winning the Firefight, 8-2 Fatigues!

Turn 8. Russian Reinforcements continue to rush to the fight.
French Light Cavalry - like heroes - re-roll their '6' and roll another '6', breaking the Prepared Militia! The French Line, unsurprisingly, shoot the Cossacks away.


Russian Turn 10. No matter how the Dragoons cut it, they will still be vulnerable to shooting from the other Infantry unit after they defeat the Conscripts.
 If they Turn to face the Conscripts directly, they'll end up sideways to Infantry Fire.
 Best to just go straight in and be ready to charge the next weak unit. At least the Dragoons will finish off two French units. Won't change the game, however.

 This will be known as "The Turn of French Firepower"! A hit by the weakened French Infantry, which is now also Prepared for the cavalry charge...

Turn 10 continues... French blow away the Russian Line.

Russian Turn 11. Seeing defeat at 50% staring them in the face, the Russian Infantry charge the French Line. The Guard roll 11 dice, and get NO SIXES! The French roll 4 dice and get one, but they needed NONE since they win ties.
 The Russian Line fare better, and win by one 6.
 Russian Dragoons try to break the French Line square...French beat them straight up, one 6 to none [without a re-roll].

French Turn 11. They blast the Russian Line's last Elan off.


Furthermore, comparing Fatigues, the Russians had a couple more units with just a few Elan left. The French had two that were hurting badly, but were able to shield them from marauding Russkies.


Russian Reinforcements make themselves noticed, setting themselves up for Fire next turn. Instead, on French Turn 10, they get a thrashing from French skirmishing! 2 Fatigues on the Russian Guards and one on the Line Brigades.


According to OHW, the scenario is won by whichever side ends up in sole possession of the hill, a pretty steep hill to climb, and likely to draw. For this game, I modified it to the Blucher forces lost victory, also. The side that takes 50% losses for this *valuable* hill will withdraw. Blucher isn't a fight to the death wargame, like the original OHW rules are.
The last couple of turns were disasters for the Russians. A bunch of units melted, and were unable to extricate themselves from their situations, anyway. Russians lost 4 Line Infantry, the Militia and the Cossacks. French lost a Conscript.


This battle is usually a draw - if either side wins, it is usually the defender. Today, the Russians took a much worse beating than I thought they would. Partially this was caused by a great decision of the French to advance forward as quickly as possible, engage only part of the hill defenses and fall aggressively upon the first Russian Reinforcements. They also rolled very well at a couple of times, setting themselves up to win the battle of attrition.
The Russians badly mishandled their guns, but were perplexed by the woods, which is an obstruction. They also should have moved all their reinforcements together along the North edge of the hill, where the Dragoons may have been able to make a better impression upon the French.
Blucher gave a very good game here, and altho I only had Momentum problems once a side, it was still tense at times, wondering if I'd have the MO needed to move the second Brigade. I didn't encounter anything in the rules that was a significant issue. Couple of lessons:
- weak units need to be protected, but - especially if cavalry - can be effective at Engaging the enemy, trapping them or slowing them against advancing forces until they are crushed.
- Combat against any defender where you have to re-roll Successes is VERY unlikely to succeed, since the Defender wins ties.
- Same goes for two weak units facing off against each other - neither side should bother to charge as when neither rolls a '6', the Defender wins. The resulting Fatigue distro is predictable and will eliminate the Attacker with 2 Elan left, not just the Defender with 1 Elan left.
- That being said, Fatigued defenders are a predictable charge for fresh cavalry - they can take the two Fatigues for losing, but will eliminate the Fatigued defender.
While certain aspect of Blucher make some results VERY likely, it is possible to beat all the odds with dice, which is pretty fun when it happens.
Overall, I really enjoy Blucher, and plan to play it a bunch more while improving my paper terrain for it.

.jpg)


.jpg)