
The final installment, was our visit to Stony Point Battlefield Historic Site, which is right on the Hudson, about 30 minutes South of West Point. Not only was it on our route, but it was one of the clear-cut complete Colonial / Patriot / Revolutionary / Rebel victories of the war, going almost perfectly to the careful plan laid out by Gen. Wayne and approved by Gen. Washington. Can't resist that!
Of course, I intend to wargame it at some point...
The park is nicely done, with a good museum in a small building, and the day we visited [a summer Saturday] had plenty of guides and re-enactors, much to our pleasure. As we were rushed, and there was no guide book to purchase, I took as many pics of military interest as possible from the museum's displays.
Strategic situation before the attack.

Stony Point had a ferry, making it tactically valuable - it was not just a point around which the river bends. The ferry is pictured below - it doesn't inspire confidence, and looks like it can only accommodate one wagon if that! But this ferry would make a nice piece on a game table...

The British attack on May 28th...

...successfully, and then fortify Stony Point in June.

British artillery at Stony Point.

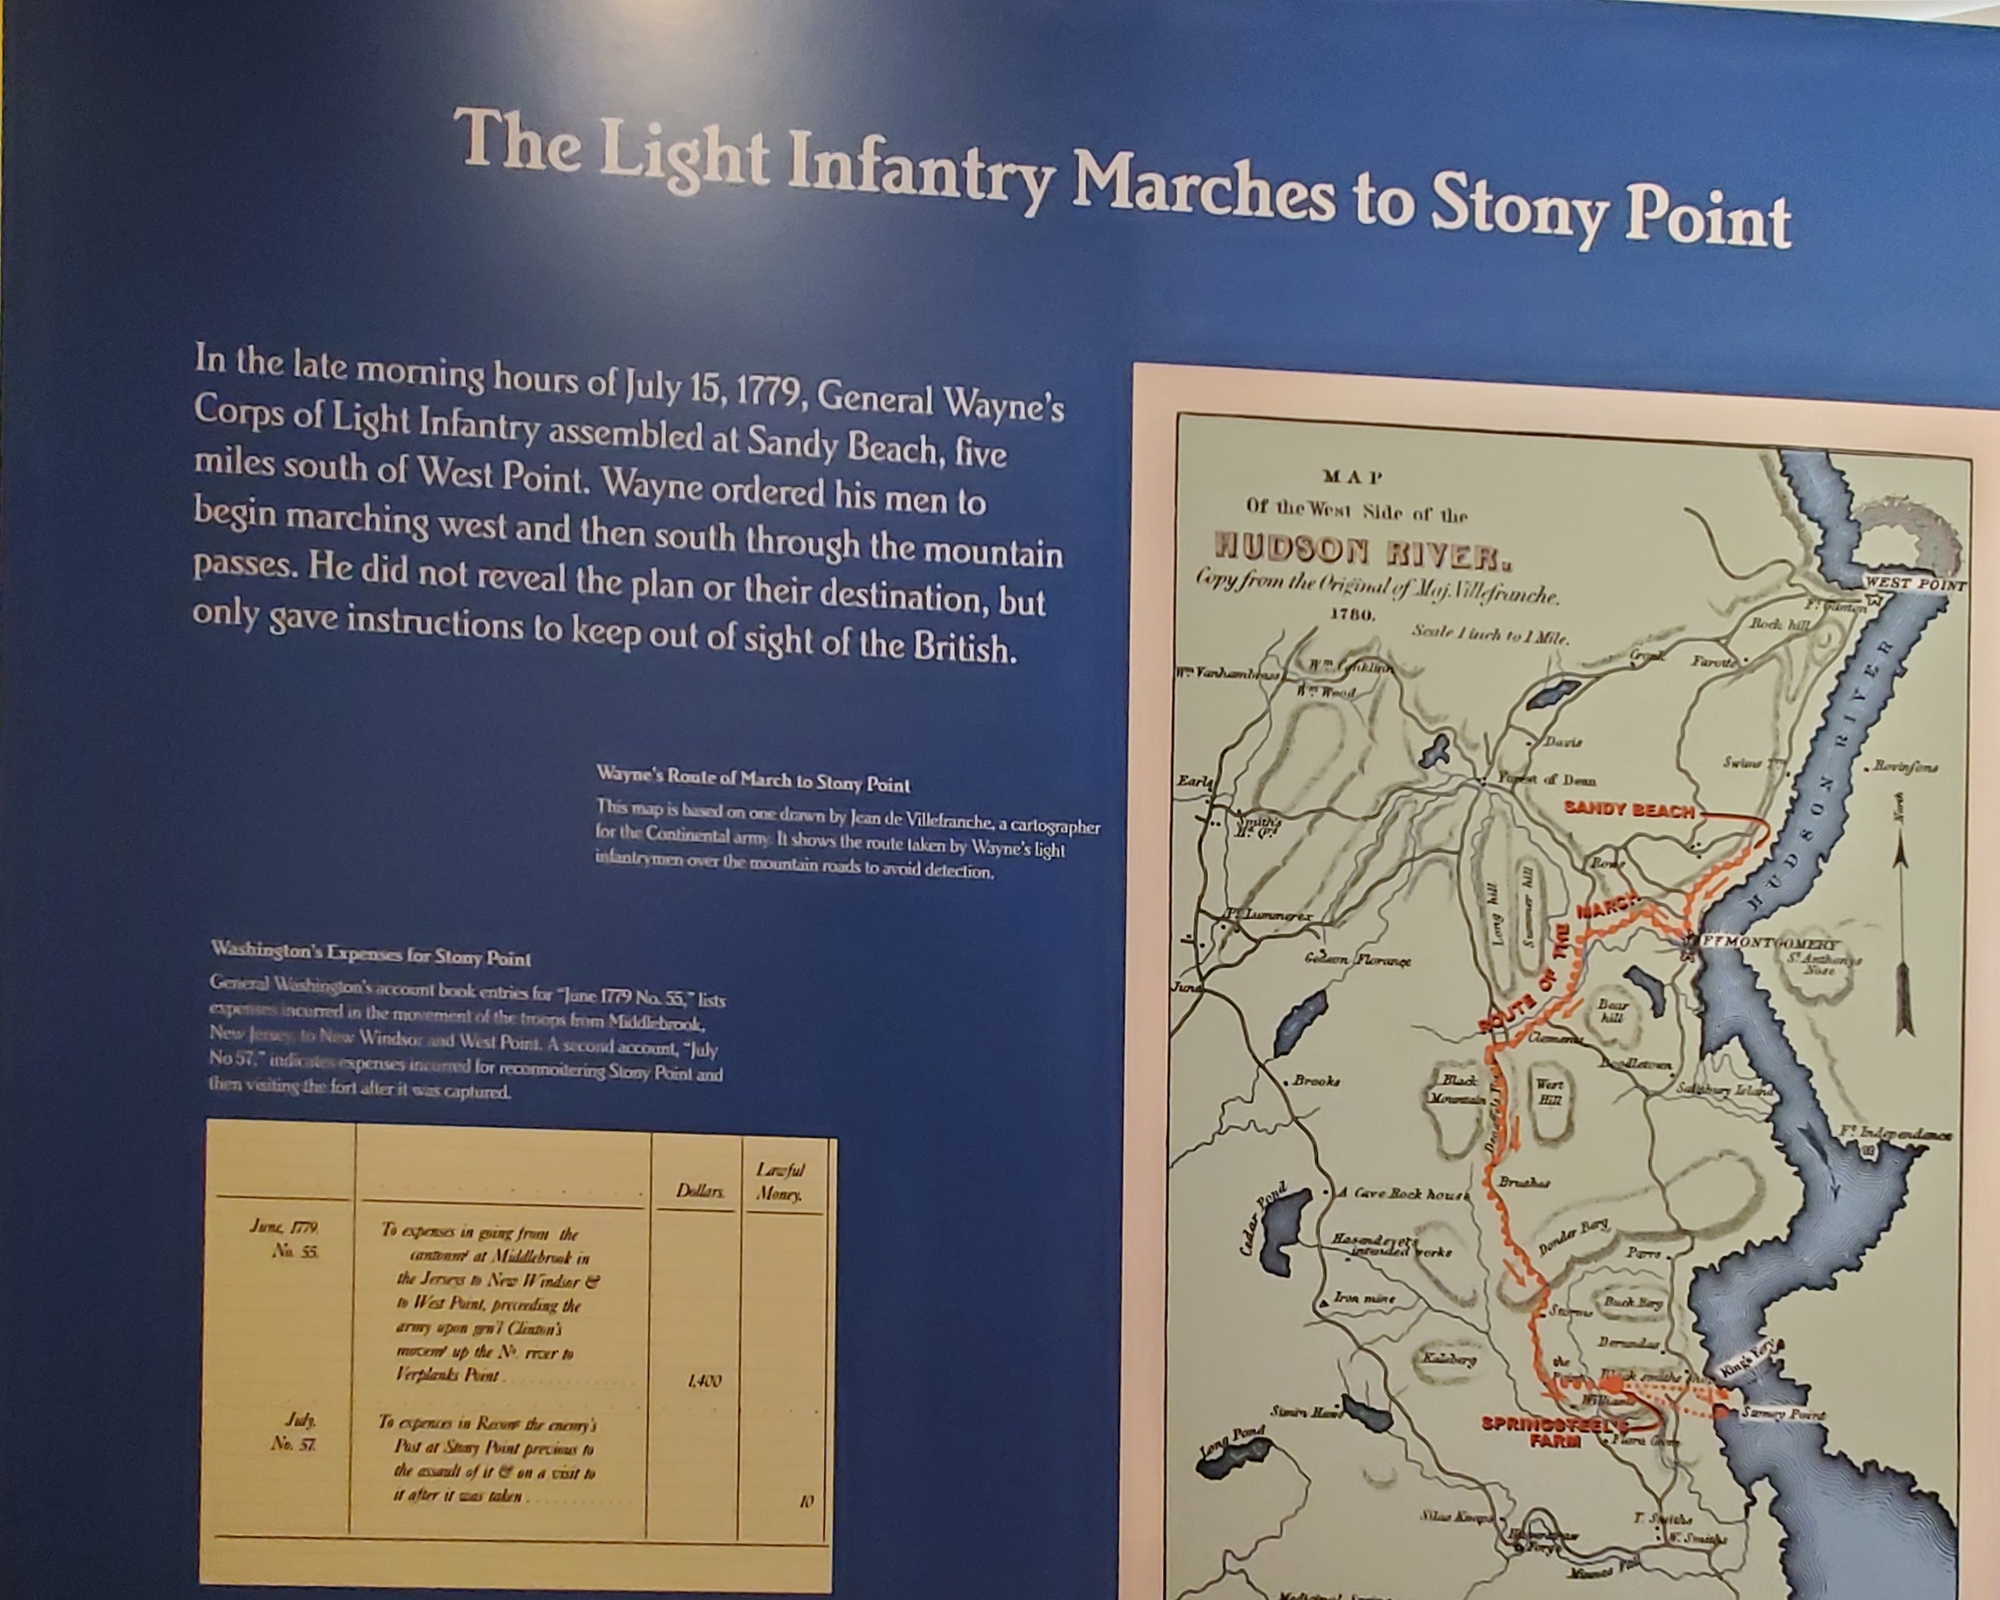
The cunning American plan...

...and it's execution!
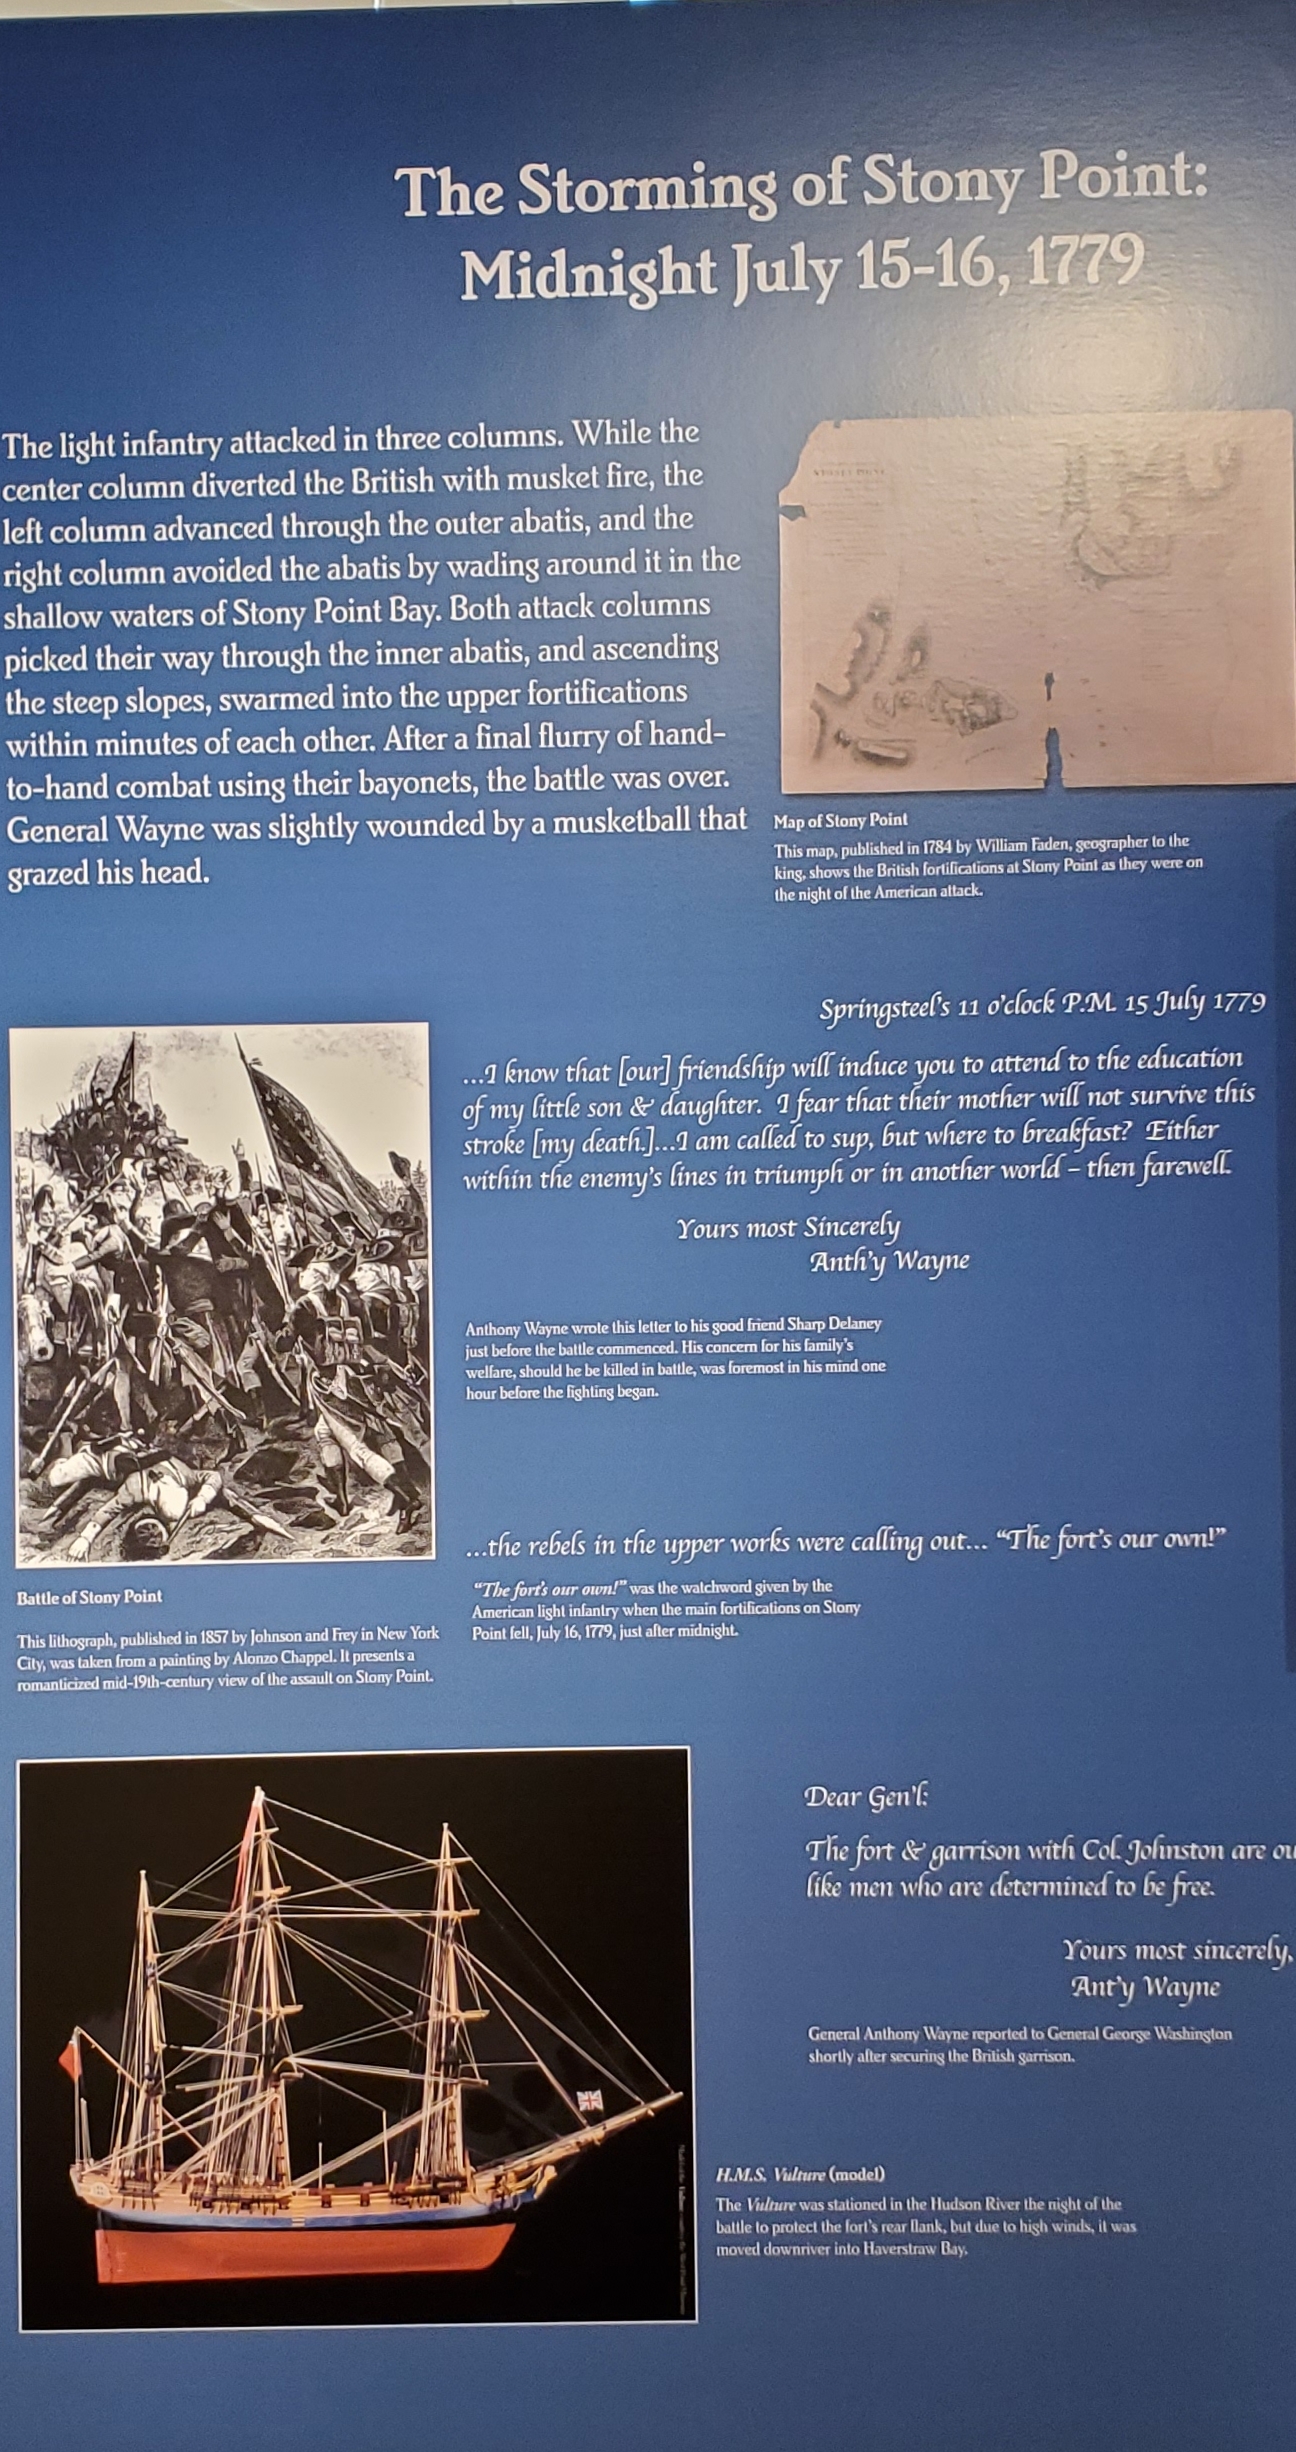

Also, there were two gunboats - a small one at top left where it says "Haverstraw Bay" and a larger frigate at bottom right, in yellow. To better orient you, the below pick is _almost_ North, and of course the Lights are attacking from the West Bank of the Hudson on the left.

The below shows the American Lt. Infantry hat, on the back is the paper used to ID friends to friends in the night attack. It is just white paper slipped into the two cloth bands - I'd guess they were used to hold a feather for parades.


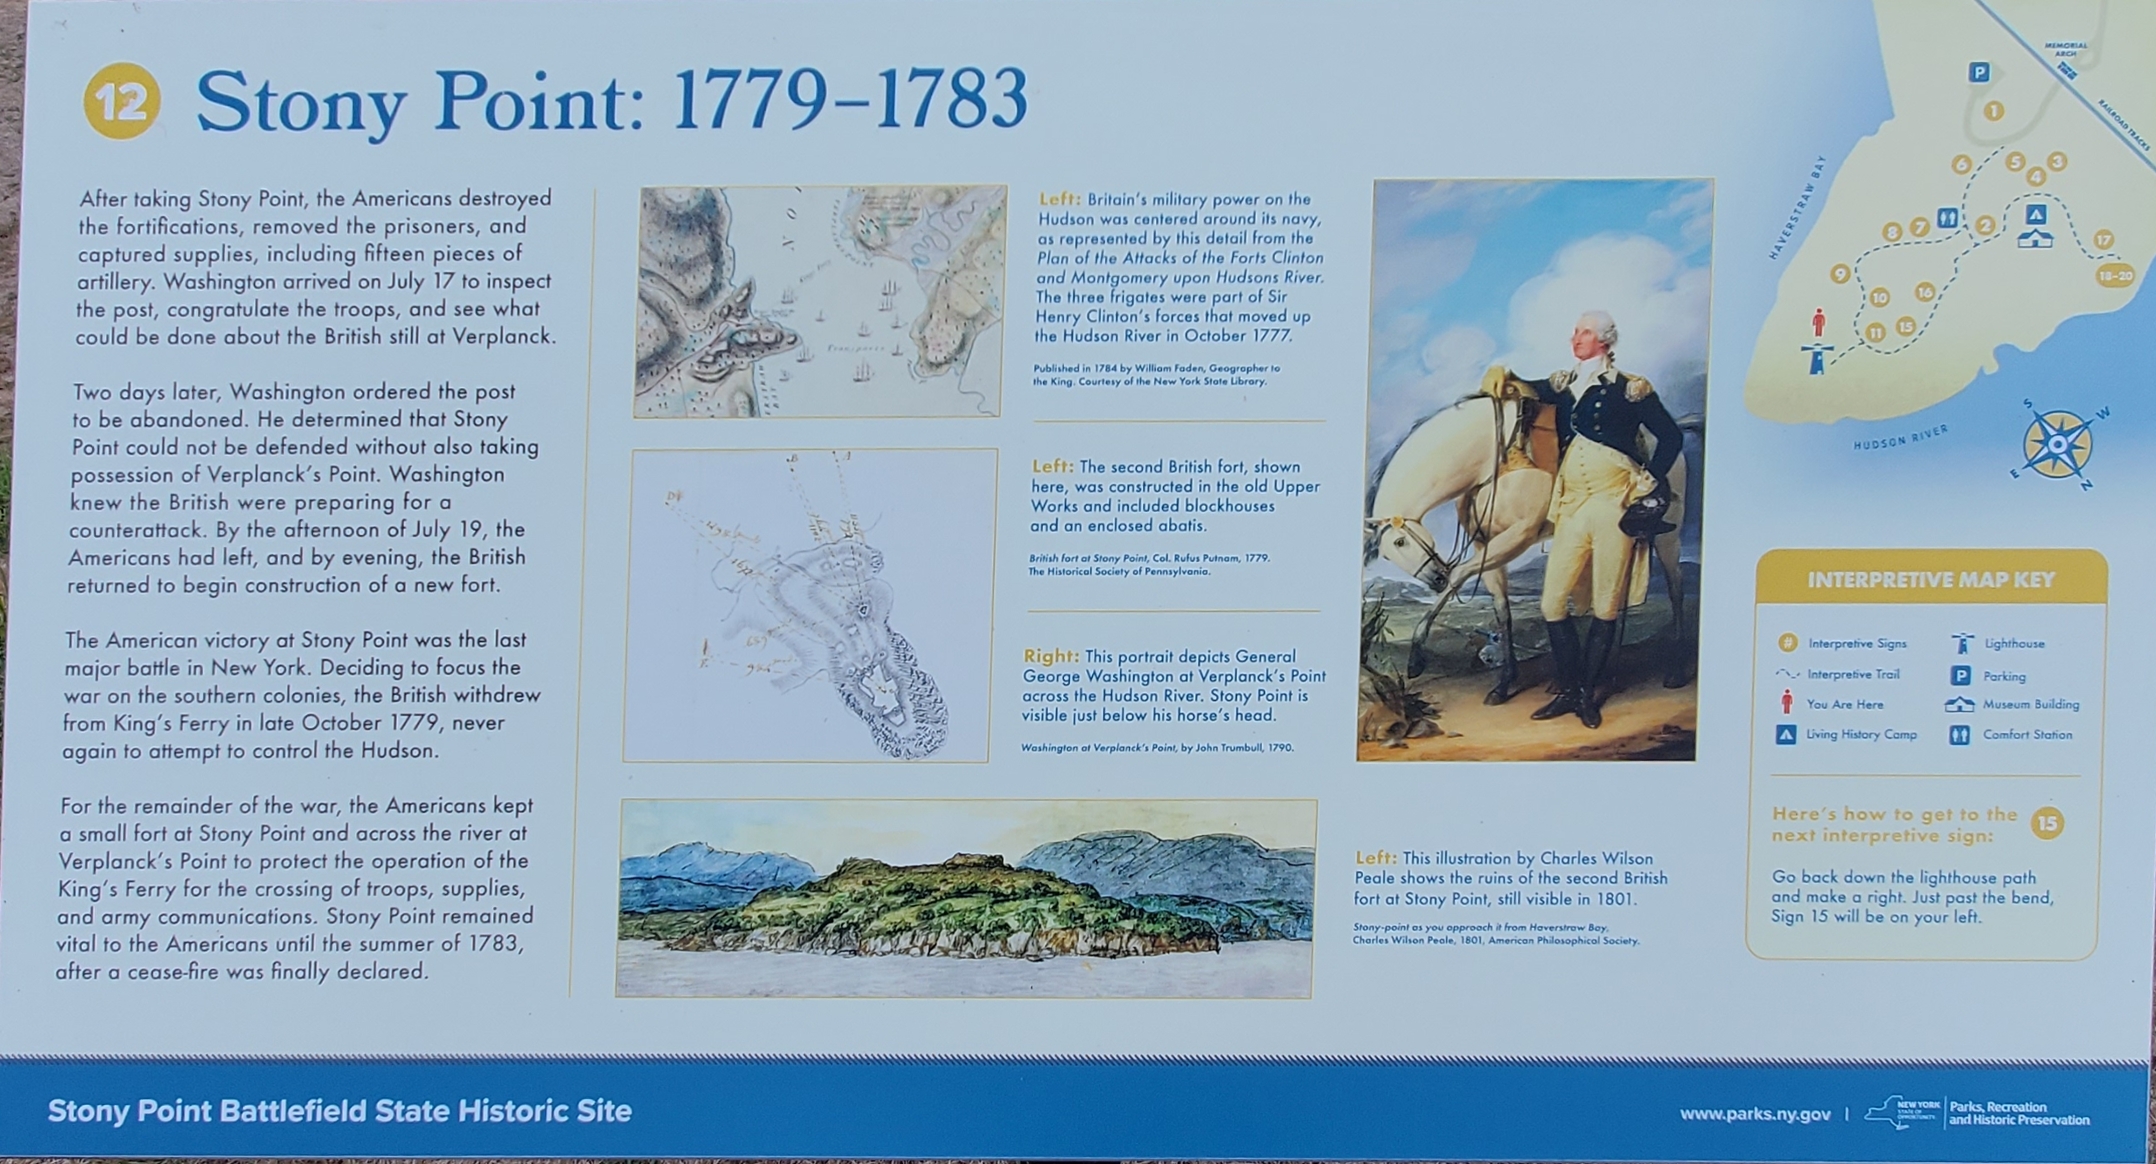
There is a self-guided walking tour with 17 of these boards. The information is helpful, there is plenty to help you figure out the battle.
At the first marker. You can see there's a scan, pics, map, etc. Nicely done!


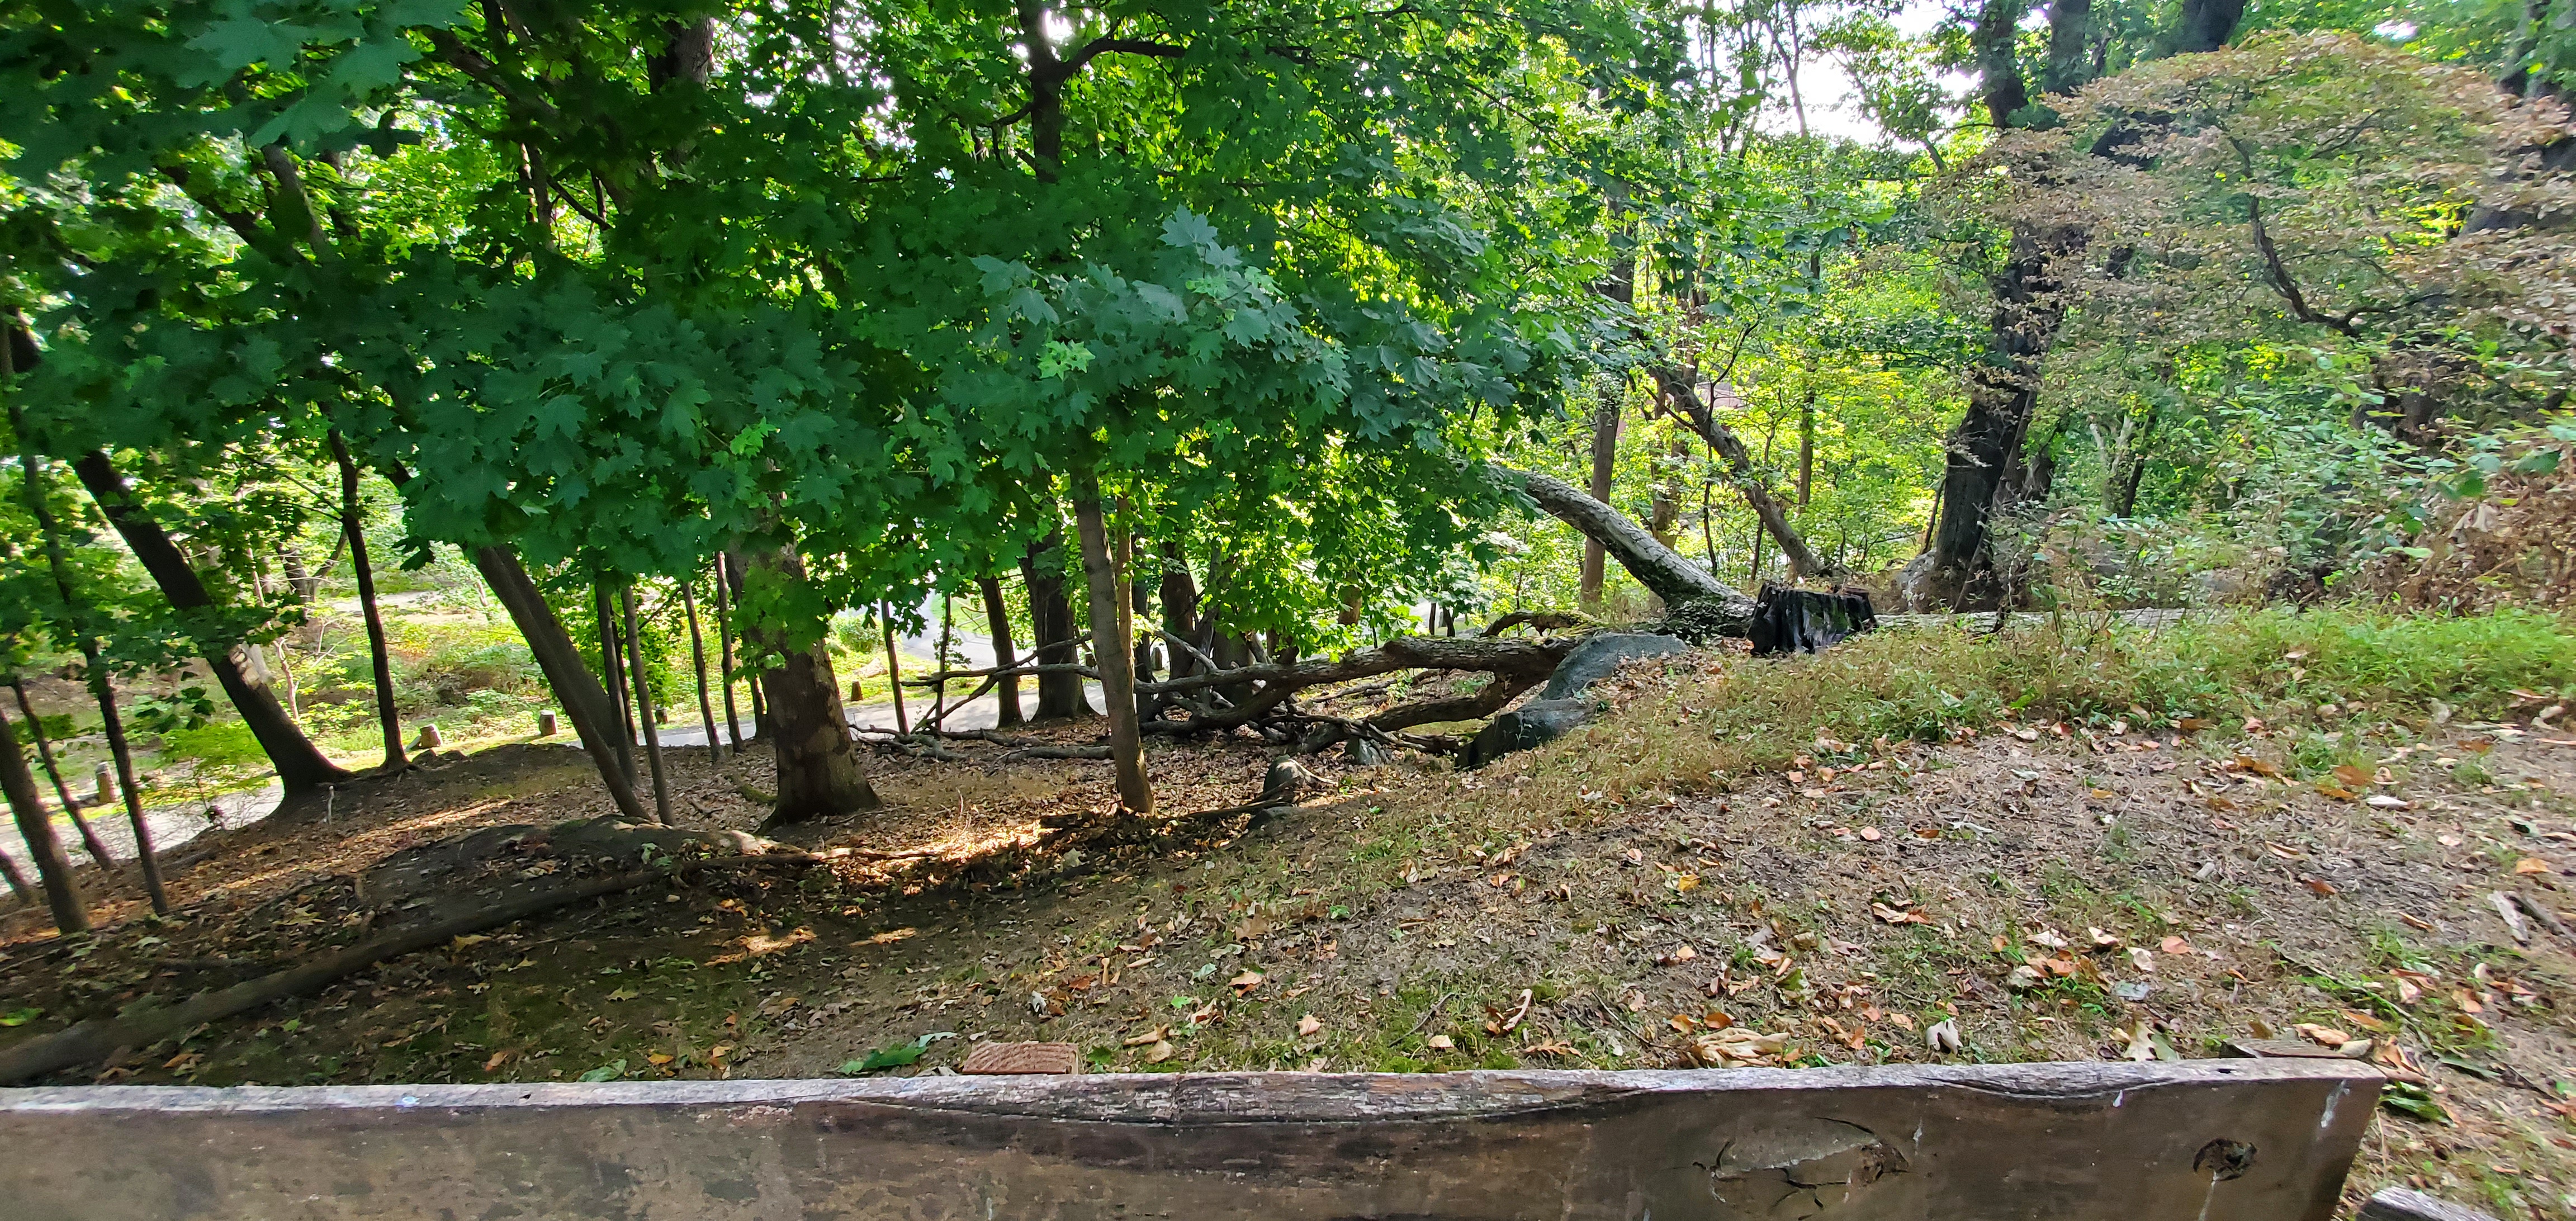

View downslope South from Point 6 - a steep drop the Americans attacked up!


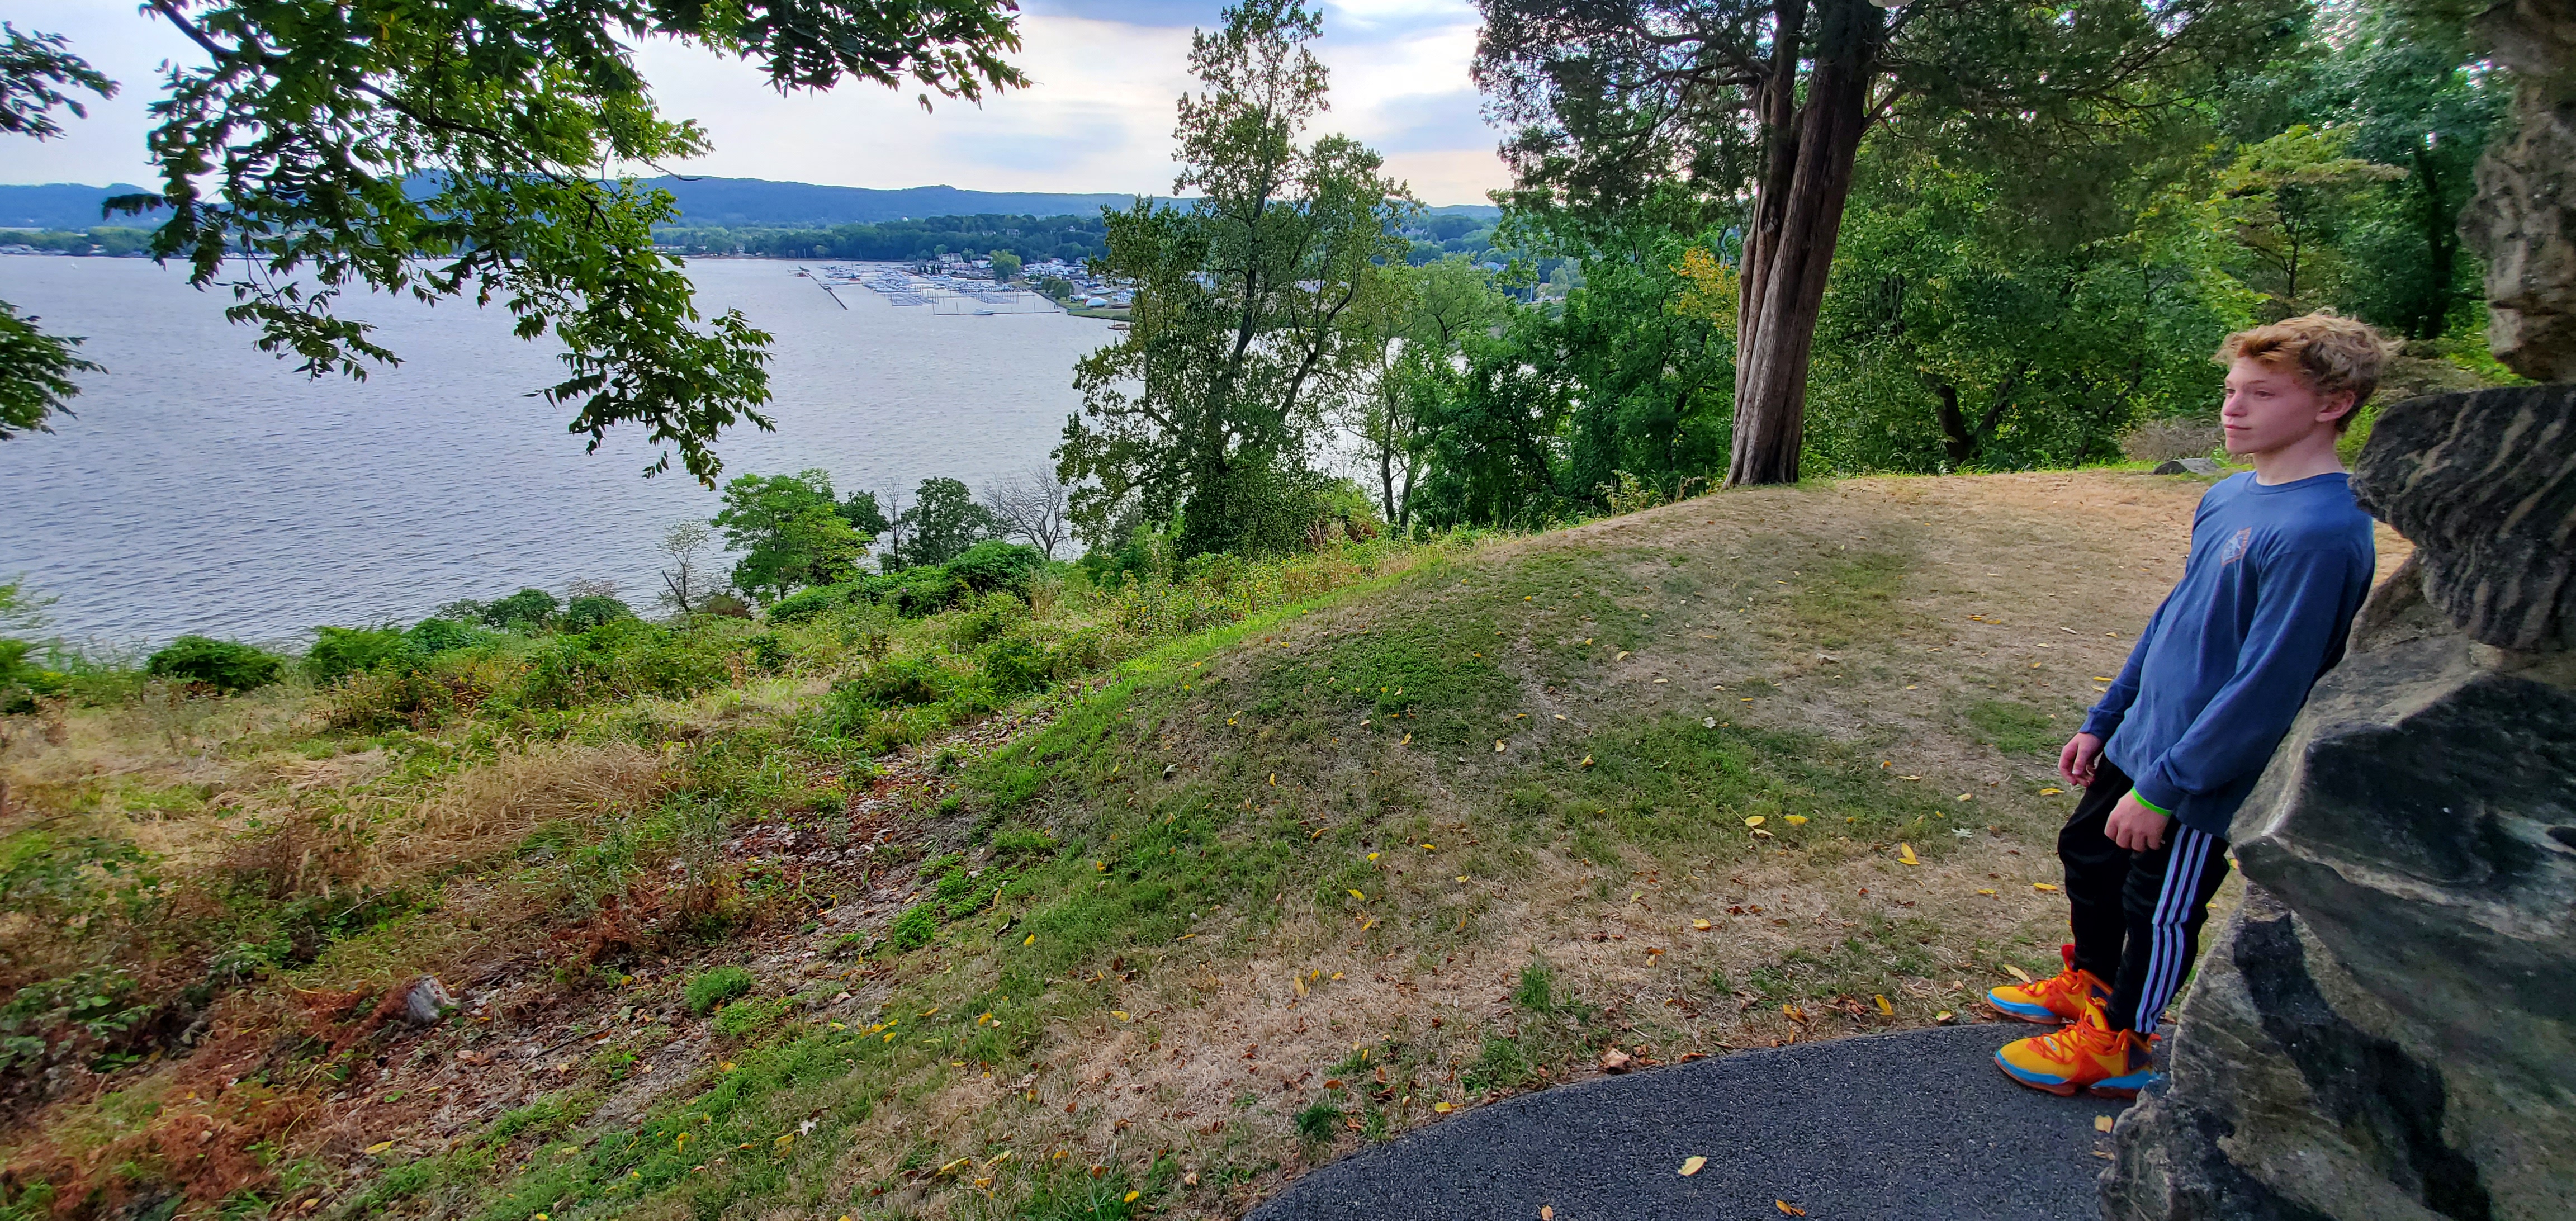
Mr. Winkie contemplates the assault...or is just gazing around?


View East across the river - the lighthouse is a later construction.


This battle would be perfect for a set of rules at the 1:10 scale, requiring about 100 American and 45 British figs. Most AmRev sets of rules are able to handle this, perhaps with a slight adjustment of the Ranges [making them longer] for the larger scale.
I hope this is helpful to you as you fight for freedom or to keep the British possessions intact! I am pondering how to game this, and will certainly post more on this later as I convert it onto the table.