
In 1870, Glorious Cavalry Charges are still in fashion...

...but fashionable doesn't necessarily mean successful!
here, Prussian Dragoons are seen off by a French smoothbore battery
After several more quick fights, and some laying out of Infantry units to really just test the mechanics, I felt like I had a few more modifications I wanted to try out.
I tidied up the table a bit and made the terrain to match that of the books, mostly, as I plan to actually play Mars-la-Tour soon. Aside from the terrain, I'm playing the scenario system RAW, to evaluate it's worth.
This time I used Forward Deployment for the Prussians, and Flank March for the French. Interesting combo, as being farther forward is potentially more dangerous for a force being outflanked! On the other hand, it is probably better to take as many objectives as possible and start with a win - let the French take objectives the hard way. Am I right? We'll see!
Below, French outflanking force. It's not supposed to have any Artillery, but guns in this period are pretty mobile, so what the heck. I'm hoping that the balance of arms will make it useful no matter what it faces. Plus I don't want to spare more than one Infantry from the main effort, as it is the best unit in the game.
As I want to surprise myself, I will not dice for the arrival of the flanking force until Turn 4, the first turn it may enter. I will also randomly roll as to which Prussian flank it will arrive on - setting aside my personal preference for the North end!


I like how cavalry works out to be useful in the scenarios, and in its historical role.

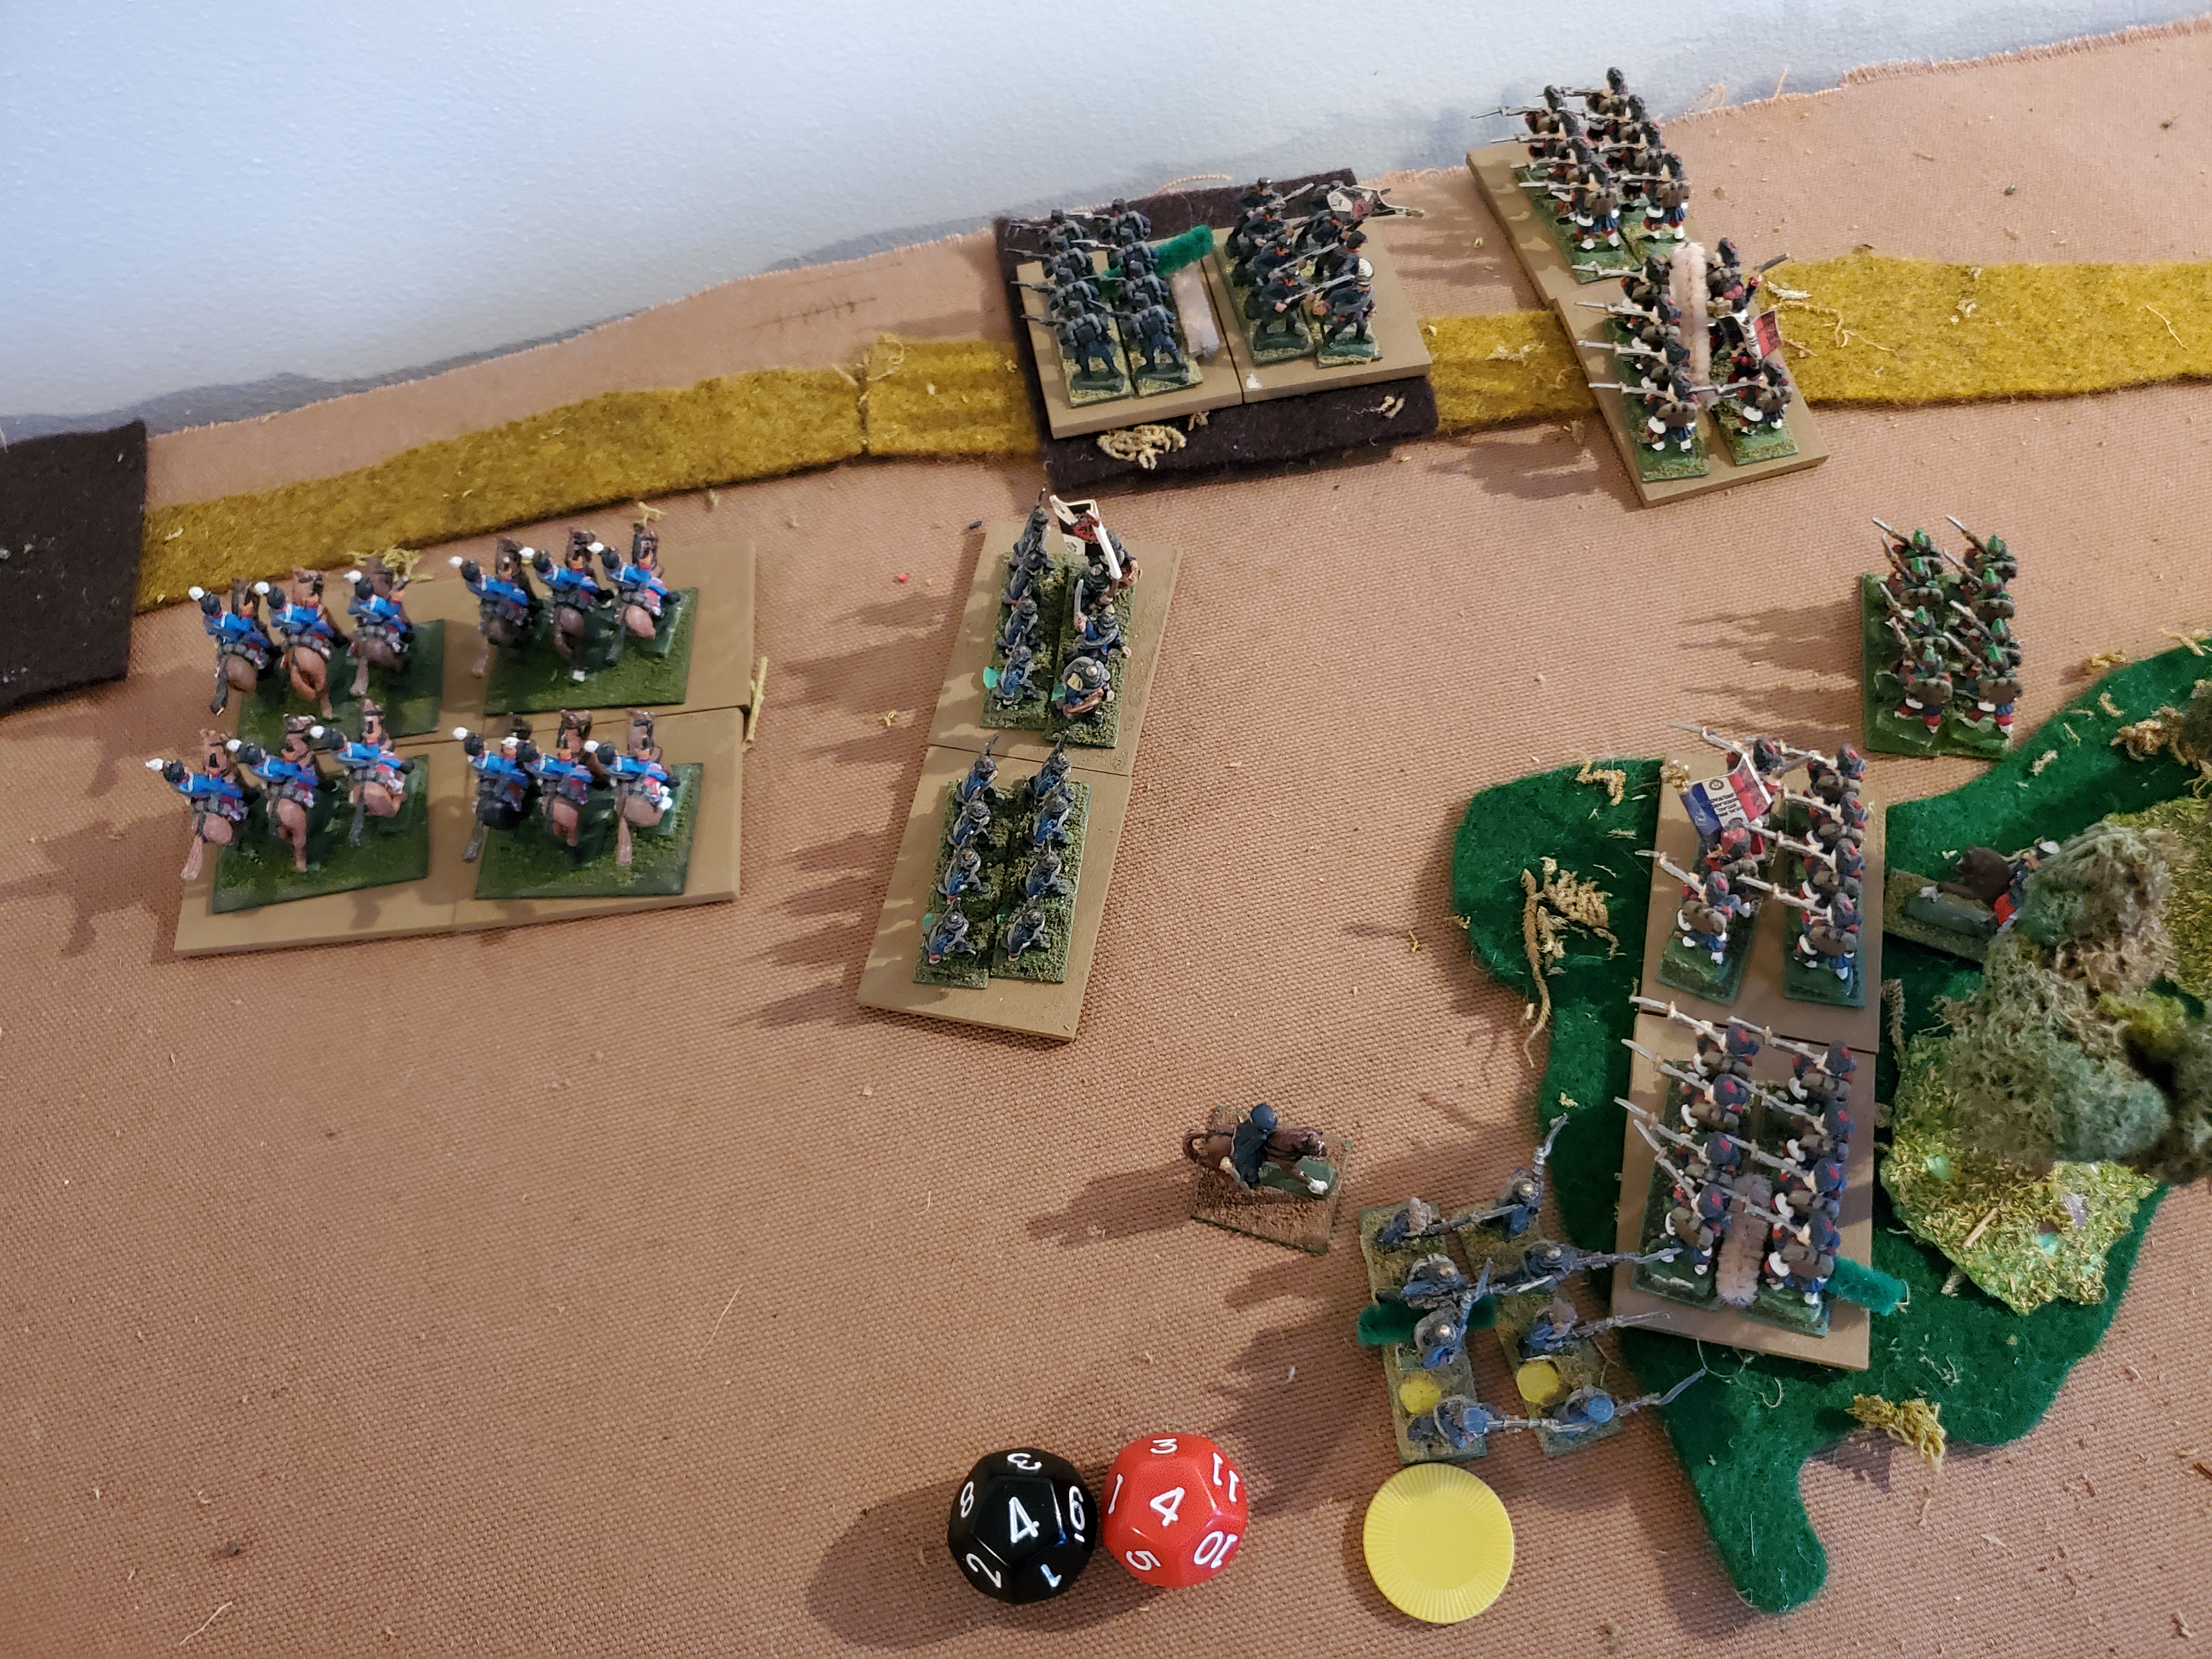
Turn 1 below. The French are still the attackers so get to move first. Their Infantry advance quickly on the road as usual. With the two Guard and Voltigeurs [skirmishers] at table North, I hope to seize at least one town, using the woods as a base of Fire. To table South, the lone French Cavalry can't advance as far due to the Prussian dragoons. Instead, the French will have to prepare to threaten the town immediately ahead on Turn 2, and realize that the Prussians will take it first. With the smoothbore Artillery in support, the French hussars have the option to plink away at the dragoons from outside their charge range. Note that I converted the RAW "Road Move" to an "Operational Move" in my rules, but the principle is the same - you can move faster if you keep about 9" away from enemy units.


Turn 1 Prussians also advance fully with their infantry, getting a few more inches than when they move second without the Advance Deployment rule. The South force has slightly better combat power than the French, with Elite infantry and a Skirmisher that is better than the French gun. The cavalry is the same. The North force is stronger than the French - two batteries and a cavalry regiment stronger. Unfortunately, the terrain doesn't allow them to engage the French easily or support a defense of the town between the forces. I plan to bottle the French up in the confined terrain and attrit them.

The Prussian dragoons are within range of the French guns, but out of charge range. They will need Fire support from their Infantry.
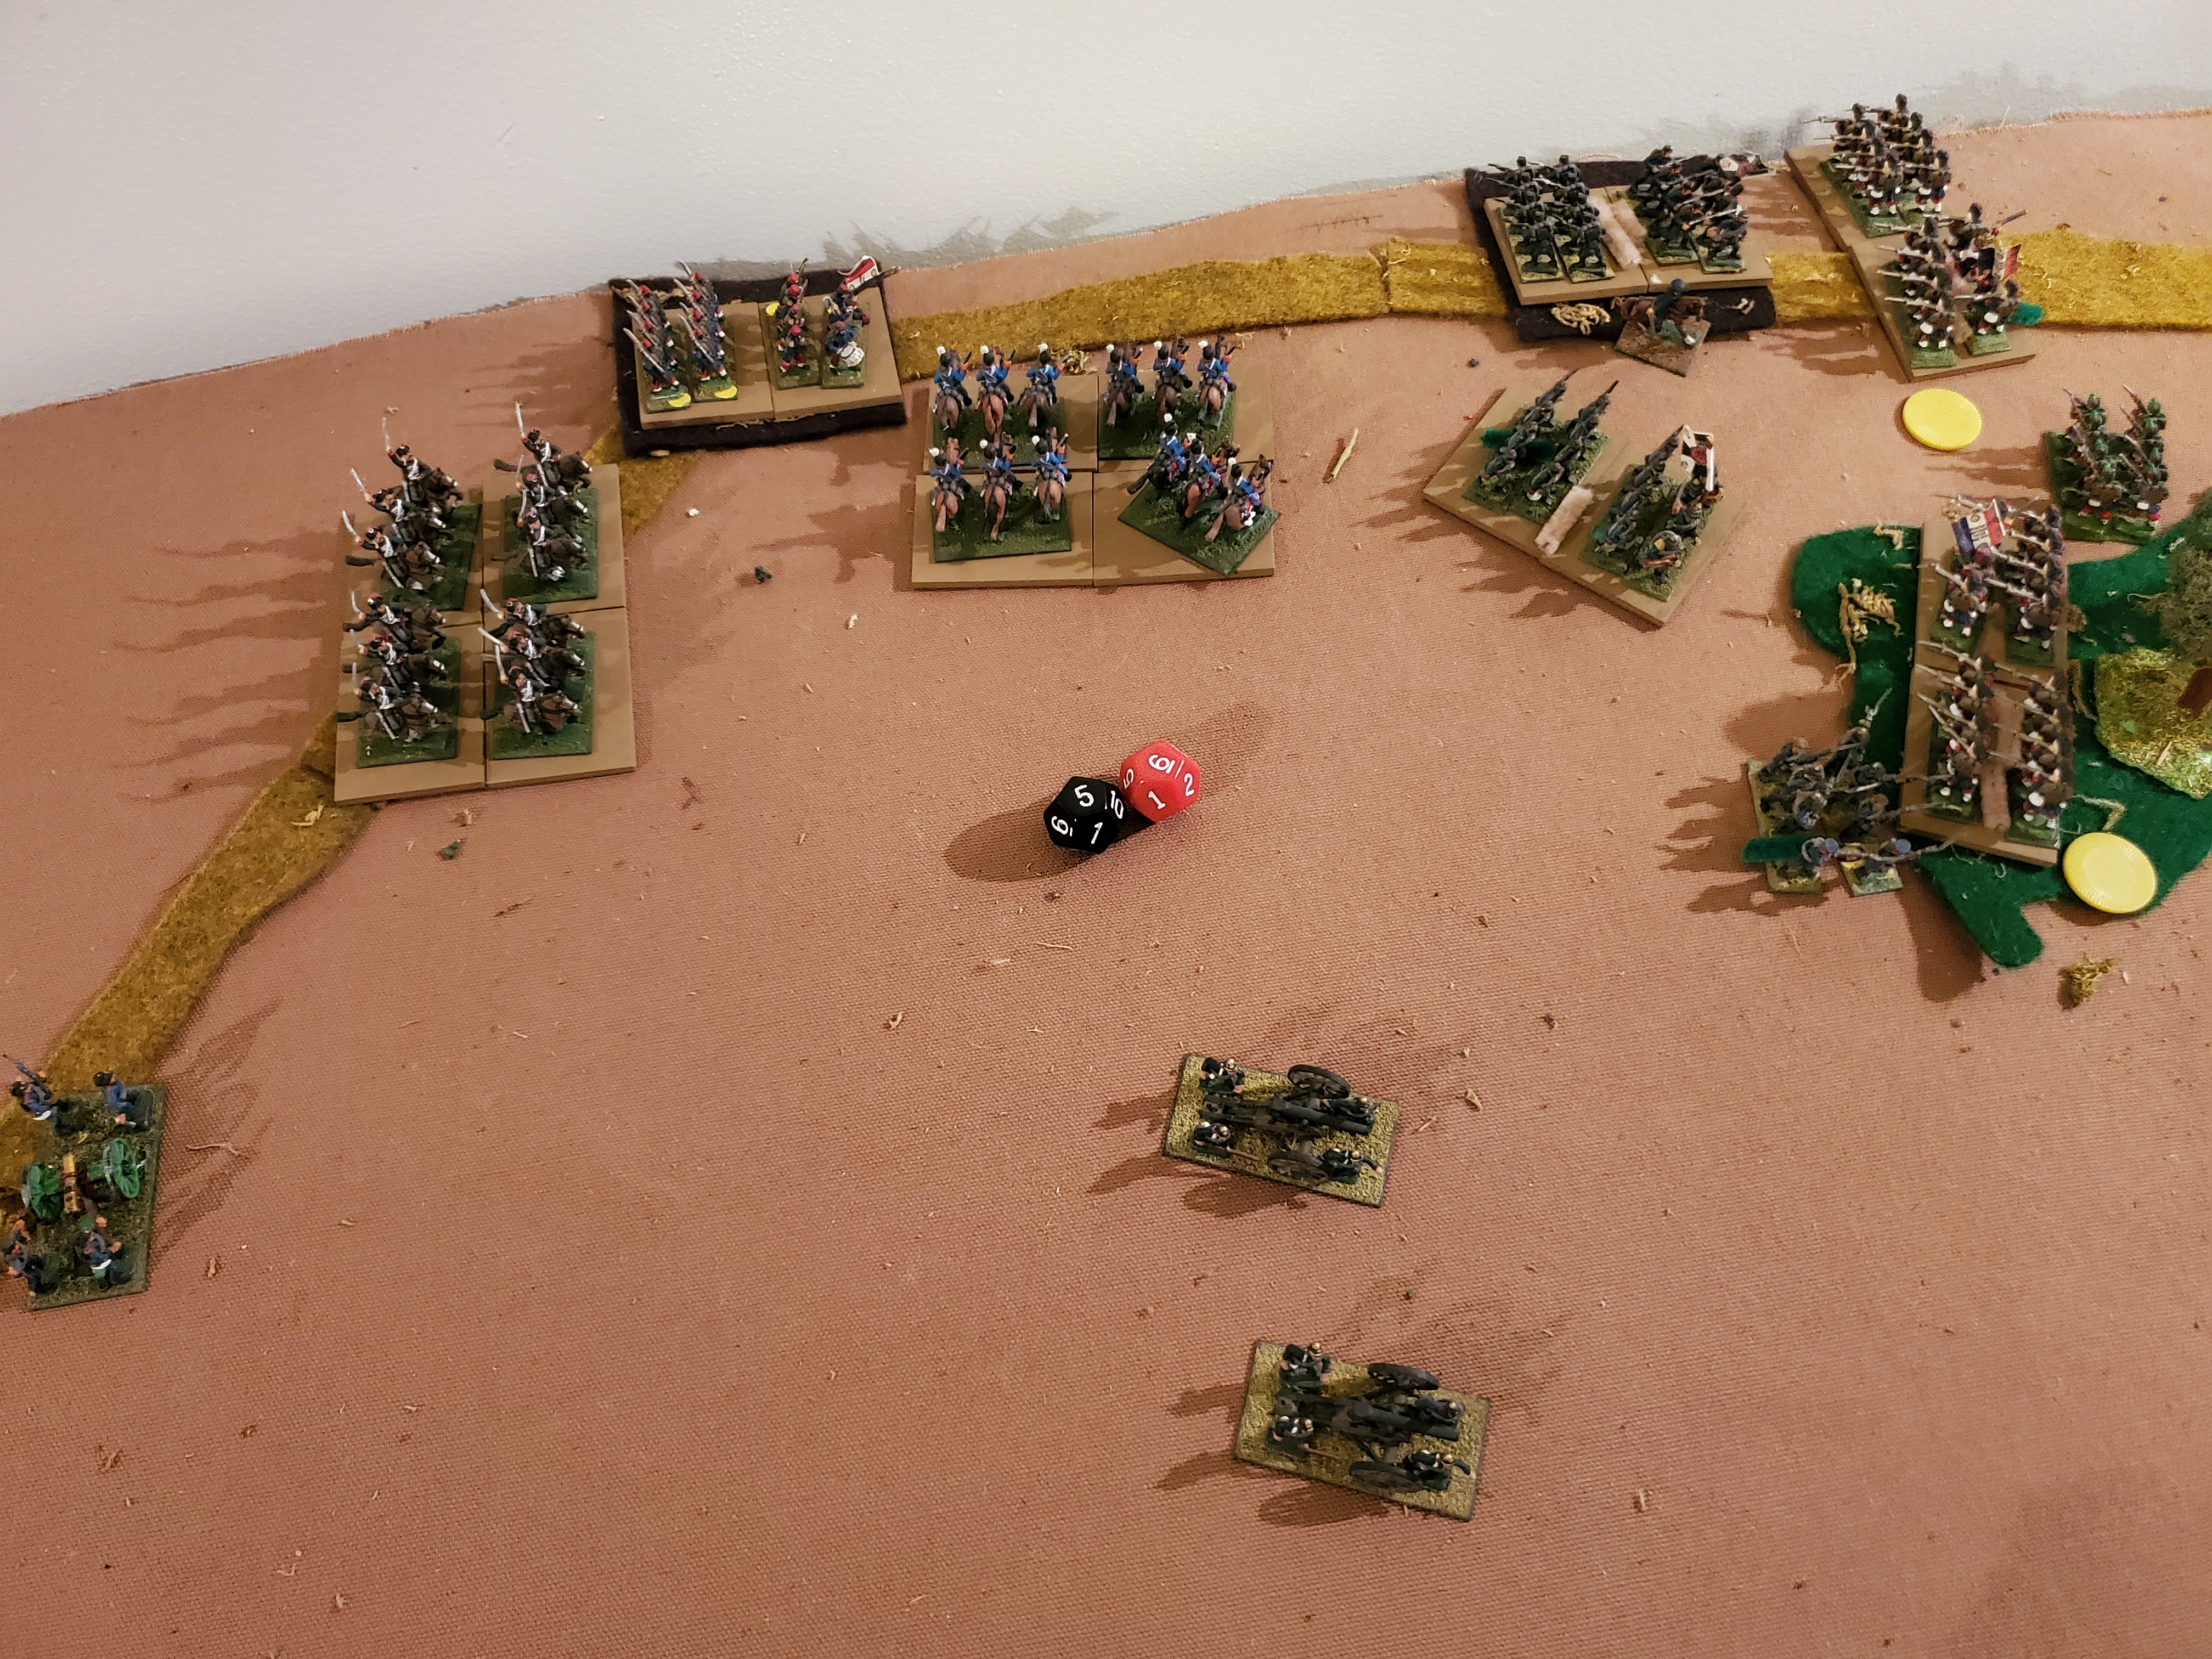
Turn 2 table North, the Prussians seize the town and closely support it. Their cavalry maneuver to protect their flank while the Krupp guns move forward in the center, making them a significant threat to the South.


The scenario rules doesn't say "no charges the turn the flanking force enters". I plan to give the Prussians a turn warning as they see the dust of oncoming French, or else it is too good a game event...

Between the Skirmishers and the Infantry, the Prussians manage to weaken one Guard unit down and charge them, but are held off - barely. The Prussian Infantry in the town are rallied by the general as they have taken 50% Hits.

Turn 5 in the South, the Prussian dragoons charge the smoothbore Artillery - knocking it out would help their situation, and the odds are with them. Unfortunately, the Artillery roll 100% hits, and the dragoons fail their morale check, lose the melee, then fail morale again, routing from the field! Quel domage!
 This shifts the balance in the South a bit, altho the French are still weaker in the most important unit - Infantry. Statistically, the Dragoons should've wiped out the gun and then had a Pursuit Charge into the hussars - rolling WELL a couple of times could have seen them adding laurels to their standard...alas, not to be.

French Turn 6. Both Guard Infantry had to rally, being a few figures away from destruction. Finally, they see dust on the edge of the battlefield - hope has arrived!
 The French diced for the North flank. Their Infantry seize the town, their cavalry threaten the dragoon's flank, and their Mitrailleuse battery advances into range of both the Krupp batteries and the dragoons - fortunately, none are facing them at this time! The flanking force is not necessarily a game changer, but it has definitely put the Prussian North force in a tight spot. It would have really helped if the Prussian charge into the woods had succeeded, like it statistically should have!

Turns 6-7 table South. With the Krupp batteries now firing North, the Prussian Skirmishers abandoned the woods to hold the town while their Infantry retreated towards the other town, hoping to hold them both. The French advanced their Cavalry into a flanking position on the remaining Prussian Infantry. The Prussian Infantry counters by forming a column and facing the Cavalry, then manage to shoot off a Base. The French pass morale and Turn 7 they charge into the maelstrom of Prussian lead!

 This time, they win the melee 6-2!
 but the Prussians pass morale easily, Fall Back and face them, ready to Fire...unfortunate, but the Infantry are now hurting. A battalion and a half of infantry from one light cavalry charge? I'll take it, even if the cavalry get wiped out!

 and on the Prussian Turn 7, they are charged in the rear and wiped out. This could have been a devastating blow, but the French managed to hang on - barely - in the Fire Phases, and pushed the Prussian Infantry - and Skirmisher - to check morale, and all fail, the survivors fleeing the field. Now THAT was unexpected!
 The table is looking pretty clear of Prussians in the North - the Mitrailleuse has only one shot at this range, but Hit! It is the last figure on the Base, so the Prussians check morale...
 ...and fail! They lose their last base and flee the field.
 Things have really turned around suddenly. The only Prussians left are in the South where the Infantry and Skirmishers wipe out the French hussars with a couple rounds of close range shooting. The Prussian batteries will have to retreat South, as the Voltigeurs can easily out-shoot them from the woods.

With the Prussian North collapsed, I was ready to throw in the towel, but played a couple more turns. The Prussians managed to rally off their losses, occupy both towns, and keep the French at bay for a few turns. But the Guard meanwhile rallied off much of their losses unmolested by Fire, their Ligne unit advanced taking towns along the way, the Mitrailleuse re-positioned itself...
 By French Turn 13, the Ligne charged the Skirmishers occupying the town who then failed morale and fled. The Ligne take the town, while the Guard array overwhelming firepower against the last Prussian Infantry Unit and Krupp battery.


Despite having another Base shot off, the French again pass morale and charge in with 50%, destroying the Prussian Infantry unit - Hussars! They are then in a position to Pursue, charging the flank of the retiring Prussians thanks to rolling the max distance! Note - Pursuit is not in the RAW.


French Turn 7, table North, things don't go as well with the French hussar charge. The dragoons re-positioned themselves nearer to the Krupp guns as they were unable to charge the French who were well away and on their flank. The French were looking for at least an effective charge, but both units rolled high for Hits, the French lost, then failed their morale check and are nearly wiped out! They ignominiously run away.


Interestingly, the flank force's arrival in the North was not as devastating to the Prussians as blowing all their morale checks in the North! With a 3+ Morale as Elite troops, the Prussians should have passed 2 of the 3 checks. And both French Guard units were down to almost zero combat power. Only the voltigeurs were ready to continue the fight.
In the South, the unexpected success of the French hussars completely turned the tide. They should have been stopped cold charging the Prussian Infantry column, but the dice were with them there, also. Unfortunately, it got them very close to the remaining Prussian foot units, which wiped them out with close range Fire.
I probably made a mistake in being as aggressive as I was with both sides. The French attacking force needs to engage the Prussians, but not necessarily close up - they should keep their distance and force the Prussians forward against their Chassepot Fire, or, alternately, the Prussians could sit back and occupy a central position, using their artillery advantage. The Mars-la-Tour terrain however puts many of the towns on the board edge, which makes the flanking force more potent.
Overall, I'd say that the scenario system in Wargaming 19th Century Europe is a solid place to start, and will provide plenty of interesting battles just as it is. I don't think it is perfect, however, and some of the "events" would need to be toned down a bit to give smoother play and a fair chance for both sides to win.
This is a bit unexpected, as Neil Thomas did such a great job with the One-Hour Wargames book and scenarios, that I would have thought the scenario system here would be a bit tighter than it is. However, like many British designers, NT is satisfied with a product that gets you started, rather than a finished product that is completely playtested and ready to go.
Occasionally, the special Events will weaken a stronger side, e.g. Prussians v. Austrians, and perhaps allow the Austrians a much-needed victory and morale boost! But in reverse, it may generate a game that is entertaining but leaves little chance for one side to win. While I understand NT's philosophy that war is not fair, most players expect a game to be, and may not enjoy the uphill battle that results.
This doesn't diminish the value of the book for newbies and grognards alike, however. While you may feel like changing a few things to suit the armies you have available and the skill of the local opposition, you will be well on your way to lots of interesting tactical challenges with this book, so it is still highly recommended.
Indeed, I credit "Wargaming 19th Century Europe 1815-1878" with my interest in the mid-19th C. wars, from Italy to Austria to France! NT has written a book that gets you into the period in such a way that you can easily appreciate the interesting tactical challenges provided by the changes in weapons and tactics of many different nations, while having a good time with some straightforward rules. Rather than finding the weaponry advances diminishing the play value, I think they enhance the play value significantly over Napoleonics, which is a lot of the same-old, same-old identical troops, weapons and gear fighting each other.
I see the middle period as the best, with the Crimea, Italian Liberation, 7 Weeks War, and Franco-Prussian war providing many interesting challenges to both sides, and the resulting battles very entertaining. The only period I'm not investing in at this point is Crimea, but who knows!
Very enjoyable to read your retrospective of Thomas’ Wargaming 19C Europe. It is one of my favorite Wargaming books and I pick it up often.
ReplyDeleteThanks for providing your battle report.
Thanks for dropping by Jonathan.
ReplyDeleteI'm enjoying the period, and this is the book that got me out of thinking that Naps and ACW are the two best 19th C. periods, and that parity of forces is essential for play balance in the Horse and Musket era. I'm excited to try Italy and 7 Weeks War in the future!